
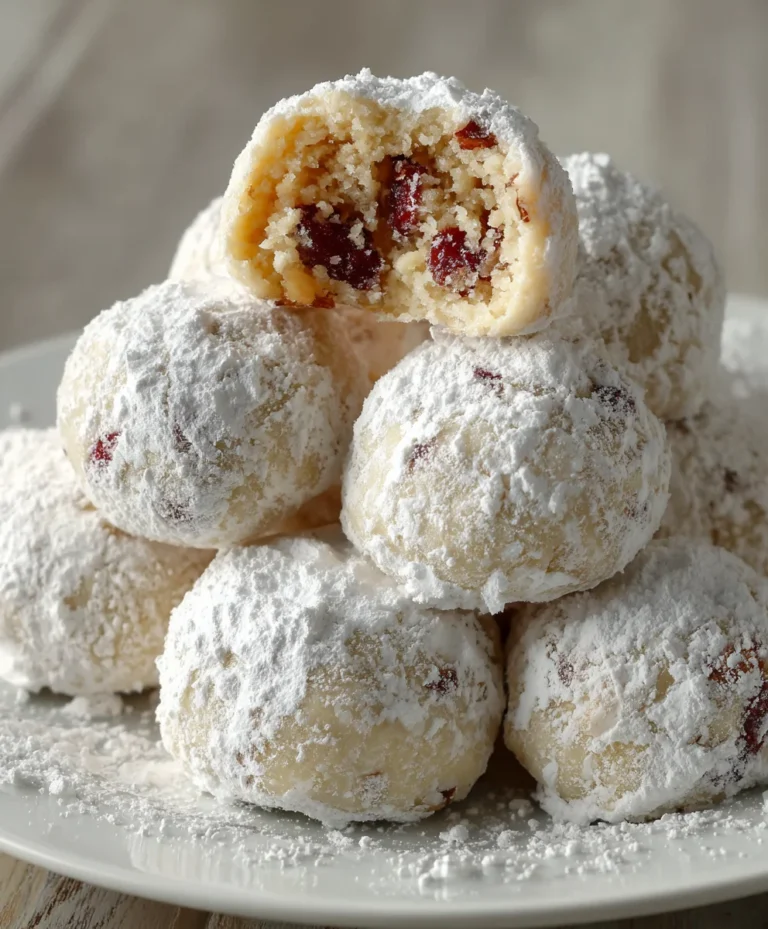
Introduction to Cherry Snowball Cookies
Oh, the joy of baking! When life feels like a whirlwind, Cherry Snowball Cookies become my go-to fix. These cookies are irresistibly sweet, providing a delightful escape in every bite. Perfect for busy days, they’re an easy treat your family will adore. Whether it’s a last-minute dessert for a gathering or just a cozy moment at home, these cookies fit the bill. Whipping them up requires just a little time, and the end result? Pure, sugary happiness. Let’s dive in and create a batch of these delightful gems together!
Why You’ll Love This Cherry Snowball Cookies
Cherry Snowball Cookies are the ultimate blend of ease and flavor, making them a favorite for busy hearts like ours. In just about 45 minutes, you can create a batch that will dazzle even the pickiest eaters. They’re buttery, nutty, and sweet with those lovely maraschino cherries. Plus, rolling them in powdered sugar is like dressing them up for a party! Who could resist a cookie that brings joy to both the baker and the eater?
Ingredients for Cherry Snowball Cookies
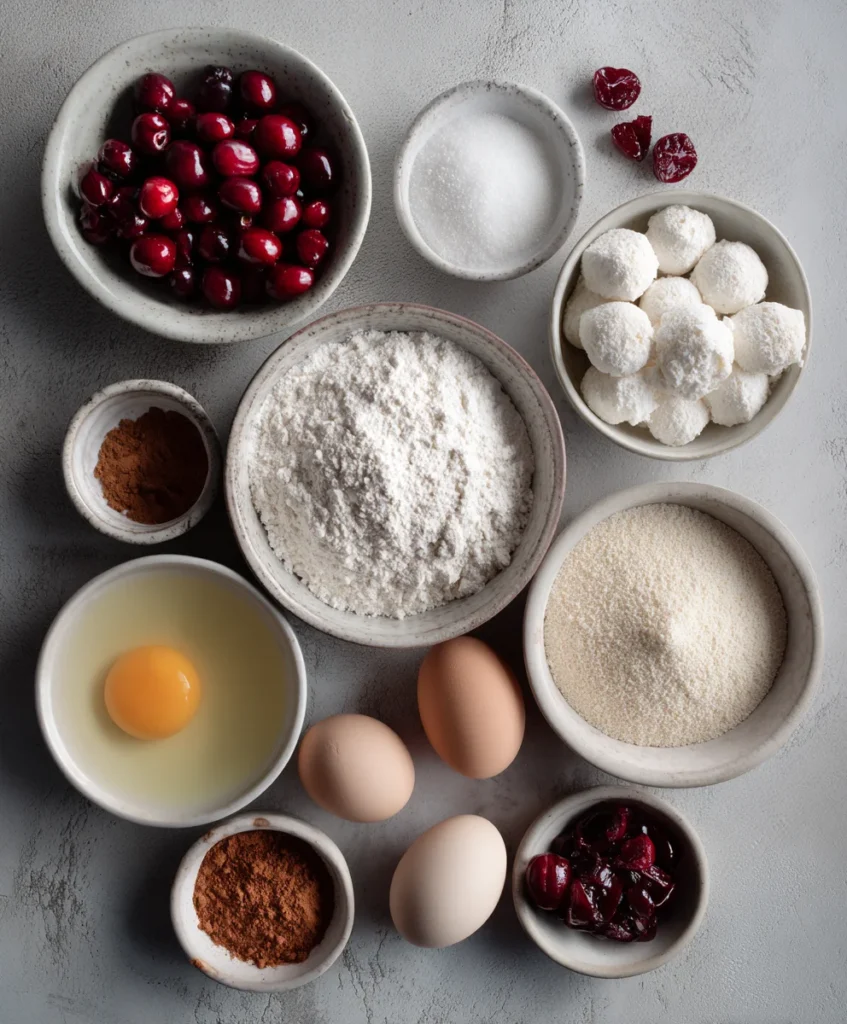
Gathering the right ingredients is like setting the stage for our cookie masterpiece. Here’s what you’ll need:
- Unsalted Butter: The foundation of flavor! Softened butter ensures a lovely texture and richness.
- Powdered Sugar: This sweet dusting sweetens the dough and is essential for rolling the cookies.
- Vanilla Extract: Adds a warm, inviting flavor that pairs perfectly with the cherries.
- Almond Extract: Just a dash brings a heavenly depth to your cookies, enhancing their delightful taste.
- All-Purpose Flour: The main structure for our cookies, giving them the right consistency.
- Salt: Just a pinch elevates the sweetness and balances the flavors beautifully.
- Pecans or Walnuts: Finely chopped nuts add a satisfying crunch and richness. You can swap these for your favorite nuts!
- Maraschino Cherries: These little gems are the stars of the show, bringing sweetness and a pop of color to each cookie.
For your convenience, exact measurements are at the bottom of this article and available for printing. Let’s get everything ready, and we’ll be on our way to Cherry Snowball Cookie bliss!
How to Make Cherry Snowball Cookies
Prepare the Dough
Let’s kick things off by creaming that butter! In a large bowl or your trusty stand mixer, beat the softened butter with 1/2 cup of powdered sugar until it’s light and fluffy. This can take about 3-5 minutes, so don’t rush it! Add in the vanilla extract and almond extract, mixing until just combined.
In a separate bowl, whisk together the all-purpose flour and salt. Gradually add this dry mixture to your buttery concoction, mixing on low speed. Remember, the secret here is to avoid overmixing; we want tender cookies, not tough ones! Finally, gently fold in the chopped pecans (or walnuts) and the bright, cheerful maraschino cherries. Stir these in just enough to distribute, and your dough will be ready to chill!
Chill the Dough
Now, here’s where the magic happens! Cover the dough and pop it in the refrigerator for at least 30 minutes, or up to 2 hours. Chilling the dough is key to achieving that perfect texture. It firms up the butter, leading to cookies that won’t spread too much during baking. Trust me; this step makes a world of difference, giving you those cute, round shapes we all love!
Shape and Bake
Once your dough has chilled, preheat your oven to 350°F (175°C). Line your baking sheets with parchment paper to prevent sticking. It’s time for the fun part: shaping the cookies! Grab about a tablespoon of dough and roll it into a ball, about 1 inch in diameter. Place each ball on the prepared sheets, leaving about 1-2 inches for spacing.
Bake these beauties for 12-15 minutes. You’re looking for edges that are just lightly golden brown—this means they’re perfectly baked! After they come out of the oven, let them cool on the baking sheets for a few minutes before transferring them to a wire rack. This cooling process sets the cookies just right!
Roll in Powdered Sugar
Ah, the final flourish! While your cookies are still slightly warm, take a moment to roll them in powdered sugar. This step not only coats them in sweetness but gives them that beautiful snowy appearance. Here’s a little insider tip: Once they’ve cooled completely, roll them in powdered sugar again. This double-dusting makes for an extra festive look and taste. Your Cherry Snowball Cookies are now ready to shine at any gathering!
Tips for Success
- Ensure your butter is truly softened for easy creaming.
- Chill the dough long enough—30 minutes is the minimum for best results.
- Don’t skip the double roll in powdered sugar; it enhances flavor and gives a beautiful finish.
- If you’ve got picky eaters at home, consider substituting cherries with chocolate chips!
- Experiment with different nuts for new flavor twists; the options are endless!
Equipment Needed
- Baking Sheets: A must-have! If you don’t have parchment paper, greased sheets work too.
- Stand Mixer or Hand Mixer: Either will work for creaming butter and sugar.
- Mixing Bowls: Grab a few for mixing wet and dry ingredients separately.
- Measuring Cups and Spoons: Essential for precise ingredient measurements.
- Spatula: Perfect for folding in those cherries and nuts uniformly.
Variations
- Chocolate Cherry Snowballs: Swap out the maraschino cherries for semi-sweet chocolate chips for a delightful twist!
- Gluten-Free Option: Substitute all-purpose flour with a 1-to-1 gluten-free baking blend for a delicious gluten-free treat.
- Coconut Cherry Snowballs: Add 1/2 cup of shredded coconut to the dough for a tropical flair that pairs well with the cherries.
- Spiced Cherry Snowballs: Incorporate a pinch of cinnamon or nutmeg for a warm spice that complements the cherry flavor beautifully.
- Nut-Free Variant: Omit the nuts altogether or replace them with sunflower seed butter for a nut-free version perfect for school lunches.
Serving Suggestions
- Pair these cookies with a steaming cup of coffee or a refreshing glass of iced tea for a delightful afternoon treat.
- For a special touch, serve on a festive tray alongside seasonal fruits like strawberries or raspberries.
- Consider packaging them in a cute tin for a charming homemade gift!
FAQs about Cherry Snowball Cookies
As with any beloved recipe, questions are bound to pop up! Here are a few I often hear about Cherry Snowball Cookies that might help clear things up.
Can I use fresh cherries instead of maraschino cherries?
While maraschino cherries give that signature sweet flavor, you can use fresh cherries if you prefer. Just make sure to chop them finely and pat them dry to avoid excess moisture!
How do I store leftover Cherry Snowball Cookies?
Store these delectable treats in an airtight container at room temperature for up to five days. For longer storage, you can freeze them—just be sure to separate layers with parchment paper to prevent sticking!
Can I make the dough in advance?
Absolutely! You can prepare the dough ahead of time and keep it in the refrigerator for up to 2 hours. Or, if you prefer, wrap it tightly and freeze it for up to a month. Just thaw before baking!
Why are my cookies spreading too much?
Overmixing the dough or not chilling it long enough are common culprits. Make sure to chill for at least 30 minutes, and you’ll have beautifully shaped cookies!
What can I use instead of nuts if someone has an allergy?
You can skip the nuts completely or swap them for seeds like sunflower or pumpkin seeds. They add a nice crunch without the allergy risk!
Final Thoughts
There’s something truly magical about baking Cherry Snowball Cookies. Each bite encapsulates a moment of joy, making ordinary days feel special. As you gather your ingredients and shape the dough, take a breath and savor the experience. These cookies aren’t just sweet treats; they’re little bundles of love that bring people together. Whether you’re sharing them at a festive gathering or enjoying them with a cup of tea at home, they add a sprinkle of happiness to life. So, roll up your sleeves and get baking—the deliciousness awaits!