
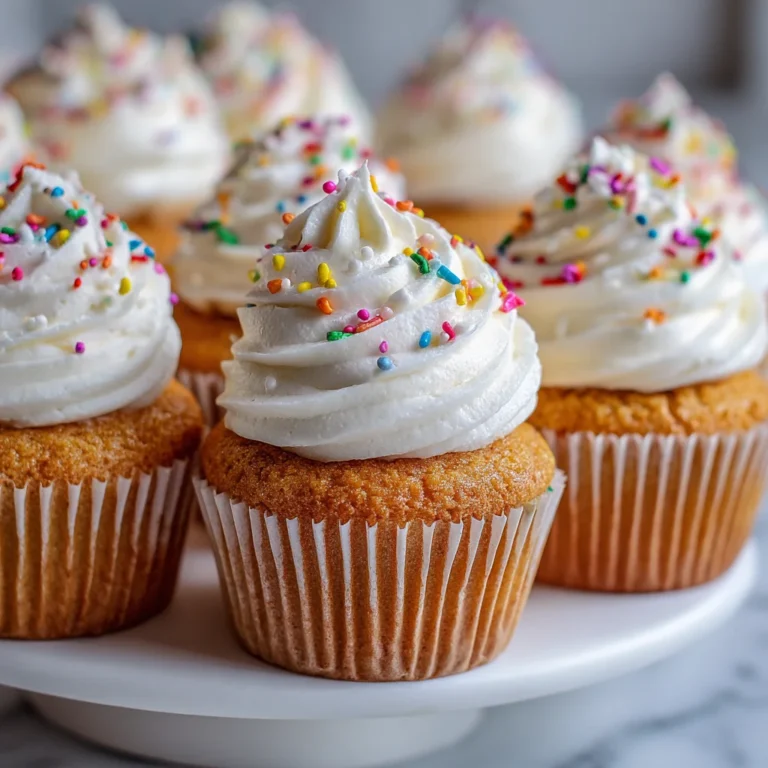
Introduction to White Cupcakes
There’s something magical about white cupcakes. They stand like fluffy little clouds in a sea of desserts, ready to bring joy to any occasion. Whether it’s a spontaneous get-together or a birthday bash, these delightful treats are a quick solution for a busy day. I know how it feels to juggle a million things at once, and these white cupcakes always bring a sense of calm in the kitchen. With a simple recipe that calls for everyday ingredients, you’ll impress your loved ones without the fuss. Stunningly delicious and oh-so-fluffy, let’s dive into the world of white cupcakes!
Why You’ll Love This White Cupcakes
These white cupcakes are a dream come true for busy moms and professionals alike. They’re incredibly easy to whip up, taking just around 20 minutes of prep time. With a light and airy texture, every bite feels like a little slice of happiness. Not to mention, they can dazzle at any event, making you look like a baking pro without all the extra stress. It’s the perfect blend of simplicity and elegance!
Ingredients for White Cupcakes
Gathering the right ingredients is key to creating those fluffy white cupcakes that we all love. Here’s what you’ll need to bring this delightful recipe to life:
- Cake Flour: This is the heart of your cupcakes. It creates a light texture and a tender crumb. Avoid using all-purpose flour for the best results.
- Baking Powder: A must-have leavening agent that helps your cupcakes rise to fluffy perfection. Make sure it’s fresh for optimal results.
- Kosher Salt: Just a pinch enhances sweetness and balances flavors. It’s the secret ingredient that brings everything together.
- Unsalted Butter: Room temperature butter adds richness and moisture. Using unsalted gives you more control over the overall saltiness.
- Granulated Sugar: The sweetener that helps create a soft texture. It caramelizes during baking, giving a beautiful golden edge.
- Vanilla Extract: This classic flavor brings warmth and enhances the sweetness. Opt for pure vanilla for the best taste.
- Almond Extract: Just a splash adds a lovely depth. If you’re not a fan, you can substitute it with more vanilla.
- Egg Whites: These fluffy gems help achieve that airy texture. They provide structure and stability to your cupcakes.
- Milk: Whole or low-fat milk will work here. It ensures a moist, tender cupcake and adds richness.
For those curious about the exact measurements, fret not! You’ll find them listed at the bottom of the article, ready for easy printing. Now, let’s move on to creating some fluffy magic!
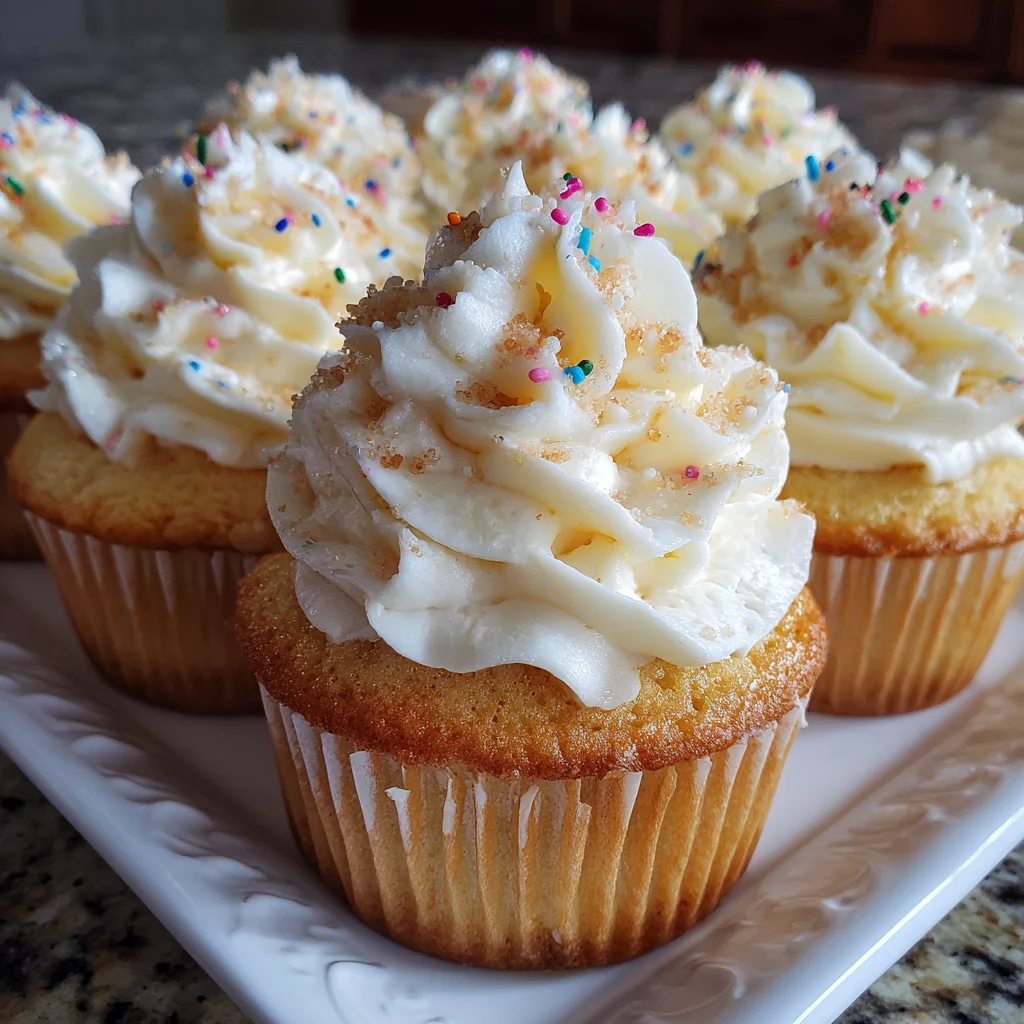
How to Make White Cupcakes
Step 1: Preheat and Prepare
Start by preheating your oven to 350°F. This step ensures your cupcakes rise beautifully. While the oven warms up, line your muffin tins with cupcake liners. It keeps your cupcakes looking lovely and makes cleanup a breeze. I always choose colorful liners to add a pop of fun!
Step 2: Mix Dry Ingredients
In a large bowl, whisk together the cake flour, baking powder, and kosher salt. This blend is your foundation for fluffy white cupcakes. By mixing these dry ingredients well, you prevent lumps. Plus, it creates an even texture throughout your batter. Trust me, this is a crucial step for those delightful, airy bites!
Step 3: Cream Butter and Sugar
In your stand mixer, beat the unsalted butter and granulated sugar together until light and fluffy, about five minutes. Add the vanilla and almond extracts, incorporating them fully. This creates a dreamy mixture that fills your kitchen with mouthwatering scents! Be sure to stop and scrape the bowl’s sides to mix everything evenly. You need that perfect blend for the best cupcakes!
Step 4: Incorporate Egg Whites
With the mixer on low, add in the egg whites, one at a time, beating well after each addition. This process is vital as it introduces air, giving your cupcakes that light texture. Don’t rush this step! Take your time to ensure each egg white is fully mixed before adding the next. The fluffiness depends on it!
Step 5: Combine Wet and Dry Ingredients
Now it’s time for the fun part! With your mixer still on low, gently add one third of the flour mixture. Follow up with half of the milk, then another third of the flour, the rest of the milk, and finally the last of the flour. Mix until just combined! Overmixing is the enemy of fluffy cupcakes. So gently fold as needed to keep that light texture!
Step 6: Fill Muffin Cups
Using a ¼ cup ice cream scoop or measuring cup, fill each muffin cup about two-thirds full with batter. This ensures they have room to rise without overflowing. If you’re like me and love even portions, this scoop method is a game-changer. It makes every cupcake uniform and professional-looking!
Step 7: Bake to Perfection
Slide your muffin tins into the preheated oven and bake for 21-23 minutes. Check for doneness by gently pressing the center; it should spring back. If a toothpick inserted comes out clean, you’re golden! Keep an eye on them toward the end, as oven times may vary.
Step 8: Cooling Process
Once baked, remove the cupcakes from the oven and let them cool in the pan for about five minutes. After that, invert them onto a wire rack to cool completely. This is essential before frosting. Trust me, waiting will be worth it when you bite into those fluffy white cupcakes!
Tips for Success
- Always use room temperature ingredients for a smoother batter and fluffier cupcakes.
- Be sure to measure your flour correctly. Spoon it into the measuring cup and level it for accuracy.
- Don’t skip the cooling step! Frosting warm cupcakes can lead to a melty disaster.
- Experiment with different extracts or add-ins like chocolate chips for a twist.
- Keep an eye on baking time; every oven varies, and a minute can make all the difference!
Equipment Needed
- Stand Mixer: Essential for creaming butter and sugar. A hand mixer works just as well in a pinch!
- Muffin Tins: You’ll need these for baking your cupcakes. Silicone muffin trays are a great reusable option!
- Measuring Cups and Spoons: Accuracy is crucial. I often use a kitchen scale for the best results.
- Whisk: Perfect for mixing dry ingredients quickly. A fork can work if you’re in a hurry!
- Ice Cream Scoop or Measuring Cup: Helps with portioning batter. A tablespoon can suffice for filling the muffin cups!
Variations of White Cupcakes
- Coconut White Cupcakes: Add shredded coconut to the batter for a tropical twist. It gives a delightful chewiness that pairs beautifully with the fluffy texture.
- Chocolate Chip White Cupcakes: Fold in mini chocolate chips for a sweet surprise in every bite. They melt perfectly, adding a rich flavor that contrasts well with the vanilla.
- Lemon Zest Infusion: A bit of lemon zest adds brightness and freshness. This citrusy touch elevates the cupcakes and makes them perfect for spring gatherings.
- Gluten-Free Option: Substitute the cake flour with a gluten-free blend. Ensure it has xanthan gum for that fluffy texture we all adore.
- Vegan White Cupcakes: Replace butter with vegan butter and swap the egg whites for aquafaba. A splash of soy or almond milk keeps it moist and delightful.
Serving Suggestions for White Cupcakes
- Pair with a steaming cup of coffee or a glass of cold milk for a classic treat.
- Top with fresh fruit like berries for a pop of color and flavor.
- Serve on a decorative cake stand to showcase their beauty at a gathering.
- Garnish with sprinkles or edible flowers for an extra touch of whimsy.
- Enjoy alongside a scoop of ice cream for an indulgent dessert experience!
FAQs about White Cupcakes
Can I use all-purpose flour instead of cake flour?
While all-purpose flour can work in a pinch, I highly recommend sticking with cake flour. It’s the key to achieving that tender, fluffy texture that makes white cupcakes so delightful.
How should I store leftover cupcakes?
To keep your white cupcakes fresh, store them in an airtight container. They’ll stay good for 3-4 days at room temperature. You can also freeze them for longer storage. Just make sure they’re fully cooled before freezing!
What type of frosting pairs well with white cupcakes?
A classic buttercream frosting works wonderfully with white cupcakes. You can also try cream cheese frosting for a tangy twist! Whipped cream or a simple glaze adds a light touch, too.
Can I make these cupcakes ahead of time?
Absolutely! You can bake them a day in advance or even freeze them. Just wait until they’re completely cooled before frosting to maintain that fluffy perfection.
Why did my cupcakes sink in the middle?
If your white cupcakes sink, it might be due to overmixing or not baking them long enough. Ensure you’re mixing until just combined and check for doneness before taking them out of the oven!
Final Thoughts
Creating these white cupcakes brings me endless joy, and I hope it will for you too! There’s a certain satisfaction in watching them rise beautifully in the oven, transforming into pillowy delights. Each bite offers a moment of sweetness, making every occasion feel special. Whether it’s a family dinner or a casual brunch, these cupcakes are sure to steal the show. Plus, they’re incredibly customizable, ensuring that you can make them your own. I can’t wait for you to experience the happiness they bring to your table. Let’s bake some magic together!