
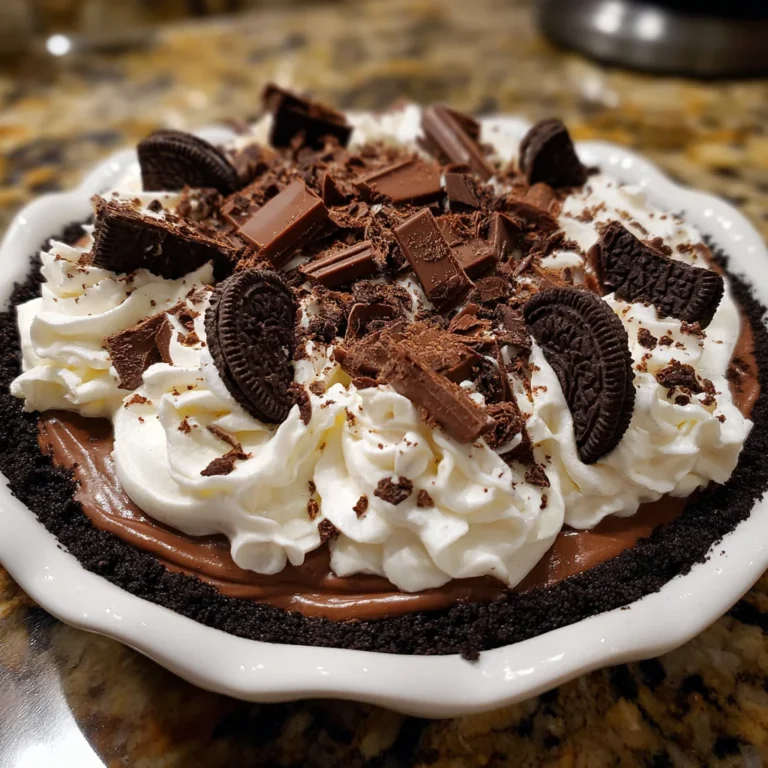
Introduction to Oreo Chocolate Mousse Pie
We all need a little slice of indulgence now and then, don’t we? That’s where this Oreo Chocolate Mousse Pie comes in! It’s my secret weapon for busy days when I want to treat my family without spending hours in the kitchen. Not only is it quick to whip up, but it also combines the irresistible flavors of chocolate and Oreos—and who doesn’t love that?
Whether you’re celebrating a special occasion or just looking for a sweet escape after a long week, this pie is a showstopper. Trust me, it’ll impress your loved ones and leave them wanting more!
Why You’ll Love This Oreo Chocolate Mousse Pie
This Oreo Chocolate Mousse Pie is a delightful treat that checks all the boxes. It’s incredibly easy to make, requiring no baking or complicated techniques. In just 20 minutes of prep time, you’ll have a stunning dessert that’s perfect for family gatherings or unexpected guests. Plus, the combination of creamy chocolate and crunchy Oreos creates a flavor explosion that’s hard to resist. Trust me, your taste buds will thank you!
Ingredients for Oreo Chocolate Mousse Pie
Gathering the ingredients for this delectable Oreo Chocolate Mousse Pie is as satisfying as the pie itself! Here’s what you’ll need:
- Chocolate Instant Pudding Mix: Rich and creamy, this mix will give your mousse that deep chocolate flavor. Just two boxes will do the trick.
- Whole Milk: Helps to achieve the perfect consistency, blending seamlessly with the pudding mix for a luscious texture.
- Heavy Whipping Cream: This ingredient elevates your mousse, making it extra creamy and fluffy. It’s what dreams are made of!
- Oreo Cookies: The star of the show! Their crunchy texture adds a delightful contrast to the smooth mousse. Don’t forget to save some crushed Oreos for garnishing!
- Pre-made Chocolate Pie Crust: A no-bake convenience that saves you time! You can easily find this in the baking aisle of your grocery store.
- Cool Whip: This light, airy topping gives your pie a beautiful finish. Plus, it adds an extra layer of creaminess.
- Hershey’s Chocolate Bar: Shaved chocolate on top creates a stunning presentation! It also packs an added dose of chocolate flavor.
Looking for alternatives? You can use dairy-free whipped topping or even a graham cracker crust if you prefer. Remember, precise quantities for each ingredient are at the bottom of the article and available for printing.
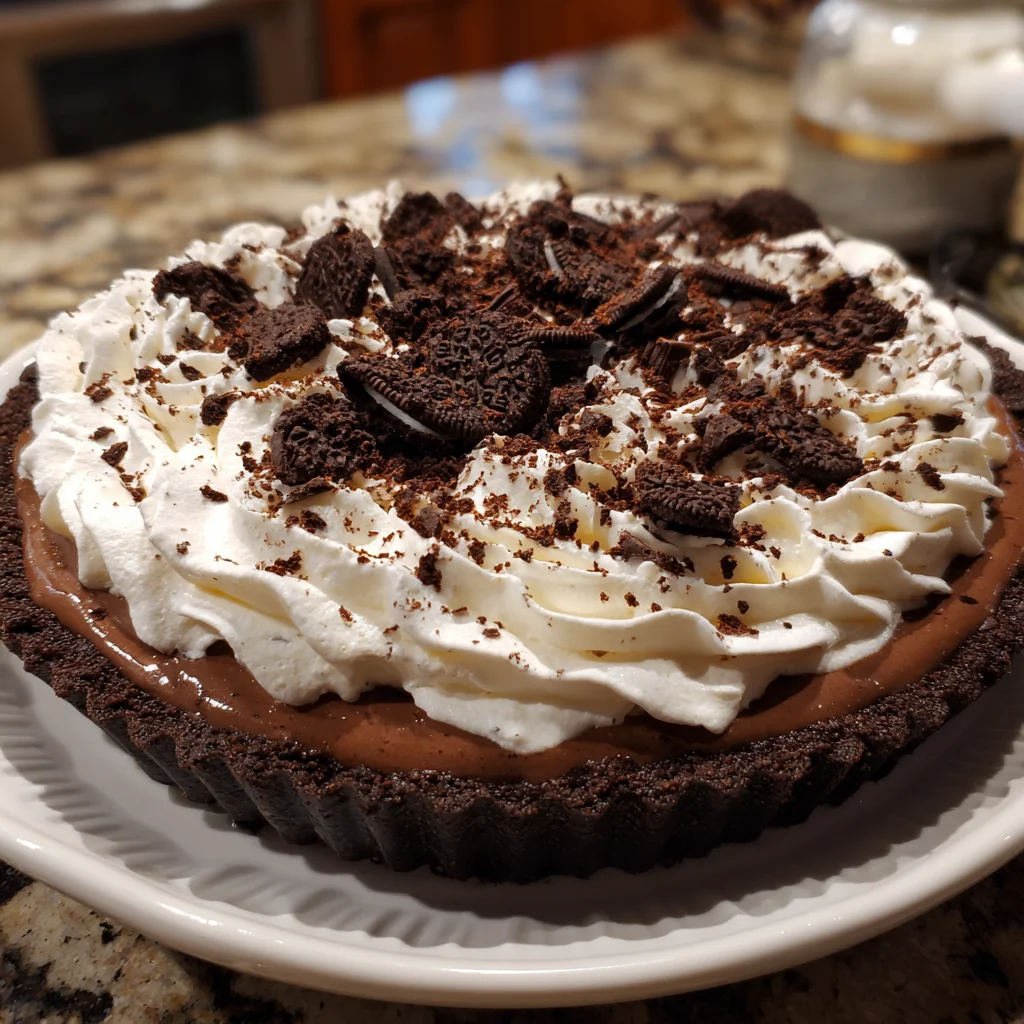
How to Make Oreo Chocolate Mousse Pie
Creating the Oreo Chocolate Mousse Pie is easier than you might think! Follow these simple steps, and you’ll impress everyone with your dessert prowess. Let’s dive right in!
Step 1: Prepare the Mousse Mixture
First, grab a large mixing bowl. Combine both packets of chocolate instant pudding mix, whole milk, and heavy whipping cream. Using a hand mixer, beat everything together until the mixture thickens up beautifully. It should resemble whipped cream—light and airy! Remember, don’t rush; let the mixer do its magic until you achieve that perfect texture.
Step 2: Incorporate Crushed Oreos
Next, take those crushed Oreos you prepared earlier. Gently fold them into the mousse mixture using a spatula. This adds an exciting crunch to your creamy dessert. Folding is key here—you want to keep that fluffiness, so be gentle! Make sure the Oreos are evenly distributed for a balanced flavor in each bite.
Step 3: Assemble the Pie
Now, it’s time to put it all together! Carefully pour the mousse mixture into the pre-made chocolate pie crust. Use a spatula to spread it out evenly. Don’t worry if it spills a bit; it’s practically begging to be devoured! The mousse should fill the crust to the top, creating a beautiful layer of chocolate goodness.
Step 4: Add Cool Whip Topping
After the mousse is perfectly spread, it’s time to layer on the Cool Whip. Grab your tub of Cool Whip and dollop it on top of the mousse. Use a spatula to spread it out, creating a smooth, even layer. This will give your pie a lovely finish, plus it adds even more creaminess. Who could say no to that?
Step 5: Garnish and Chill
Last but not least, let’s make it gorgeous! Sprinkle the reserved crushed Oreos over the Cool Whip layer. Then, add those shavings of Hershey’s chocolate on top for a decadent touch. Now, place your pie in the refrigerator to chill for around 3-4 hours. This is when the magic happens—the mousse sets perfectly!
Once the wait is over, slice into this beautiful creation and watch everyone’s faces light up. Enjoy the melty, creamy, chocolaty goodness!
Tips for Success
- Chill your mixing bowl and beaters before whipping the cream for extra fluffiness.
- Use a spatula to gently fold ingredients; this keeps your mousse light and airy.
- For a richer mousse, let it sit overnight in the fridge—trust me, it’s worth it!
- Add a splash of vanilla extract to the pudding for extra flavor.
- Don’t skip the garnish; it makes your pie look irresistibly tempting!
Equipment Needed for Oreo Chocolate Mousse Pie
- Large Mixing Bowl: A classic option; a sturdy stainless steel bowl works great too.
- Hand Mixer: Perfect for easy blending; a whisk can substitute, but it’ll require more elbow grease!
- Spatula: Essential for folding the Oreos; a wooden spoon can be handy as well.
- Pie Server: For elegant slices, but any serving utensil will do the trick!
Variations of Oreo Chocolate Mousse Pie
- Peanut Butter Addition: Swirl in some creamy peanut butter into the mousse for a delicious chocolate-peanut butter combo.
- Mint Chocolate Twist: Use mint-flavored Oreos and add a few drops of peppermint extract for a refreshing twist.
- Dairy-Free Option: Substitute heavy cream with coconut cream and use dairy-free chocolate pudding mix to cater to lactose intolerant friends.
- Fruit Layer: Add a layer of fresh raspberries or strawberries atop the mousse before adding the Cool Whip for a fruity touch.
- Gluten-Free Alternative: Use gluten-free Oreos and a gluten-free pie crust to make it accessible for everyone.
Serving Suggestions for Oreo Chocolate Mousse Pie
- Pair with Fresh Berries: Serve alongside strawberries or raspberries for a zesty contrast.
- Coffee Delight: Complement with a cup of hot coffee or a cold glass of milk.
- Elegant Presentation: Use fancy dessert plates to elevate the dessert’s appeal.
- Whipped Cream Swirls: Top each slice with a dollop of extra Cool Whip for added charm.
- Chocolate Drizzle: A drizzle of chocolate sauce on the plate will bring a show-stopping effect!
FAQs about Oreo Chocolate Mousse Pie
As you embark on your delicious journey with this Oreo Chocolate Mousse Pie, you might have a few questions. No worries! I’m here to help clear things up:
Can I make Oreo Chocolate Mousse Pie ahead of time?
Absolutely! This pie can be prepared one day in advance. Just store it in the fridge until you’re ready to serve. The flavors get even better after a night in the fridge!
Can I use a different type of pie crust?
Of course! While a chocolate pie crust adds to the richness, you can absolutely substitute it with a graham cracker or a regular pie crust if you prefer a classic twist.
How do I store leftovers of Oreo Chocolate Mousse Pie?
Store any leftovers in an airtight container in the fridge. It should last for about 3-4 days, but I doubt it’ll stick around that long!
Can I freeze Oreo Chocolate Mousse Pie?
Yes, you can! Just remember to wrap it tightly before placing it in the freezer. When you’re ready to enjoy, let it thaw in the fridge overnight for the best texture.
What can I substitute for heavy whipping cream?
If you’re looking for a lighter option, consider using a mixture of unsweetened almond milk and coconut cream. It’ll yield a slightly different texture but will still be delicious!
Final Thoughts on Oreo Chocolate Mousse Pie
Indulging in a slice of Oreo Chocolate Mousse Pie is like giving yourself a warm hug on a busy day. This dessert combines simplicity and deliciousness, making it the perfect treat for any occasion. The creamy chocolate with crunchy Oreos creates a symphony of flavors that dance on your palate. Not only will it impress your family and friends, but it’ll also become a cherished recipe in your kitchen. So go ahead, whip it up, and savor those moments of joy that come with each delightful bite. Happy baking, friends!