
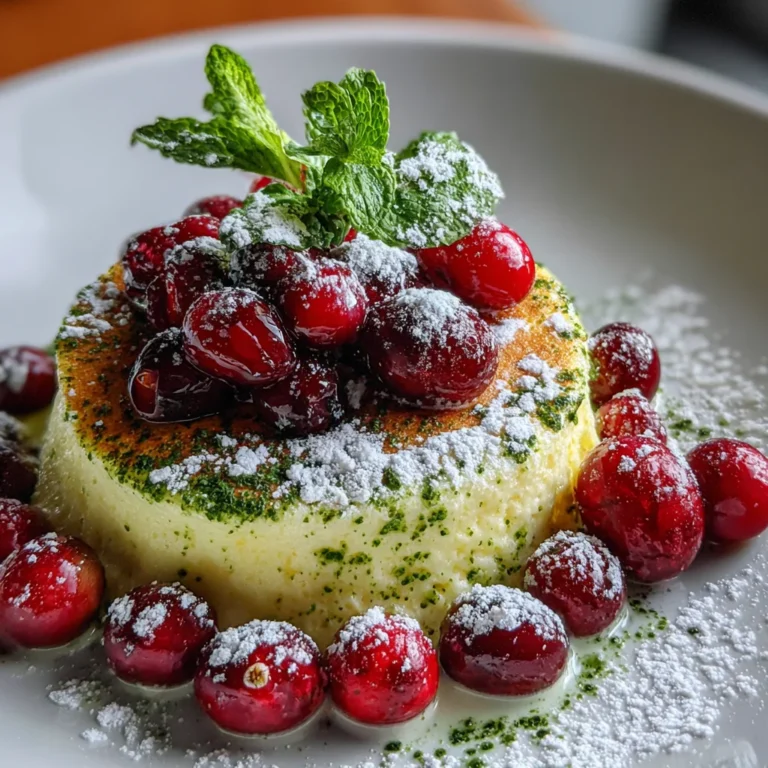
Introduction to Matcha Swiss Cranberry Cream
Welcome to the delightful world of Matcha Swiss Cranberry Cream! This dessert is not just a feast for the eyes; it’s a luscious treat that brings together the earthy, vibrant flavors of matcha and the tart sweetness of cranberries. If you’re a busy mom or professional like me, you know how hard it can be to find time for something special. This recipe is perfect for those days when you want to impress your loved ones without spending hours in the kitchen. So, let’s dive into this easy, yet elegant, dessert adventure together!
Why You’ll Love This Matcha Swiss Cranberry Cream
This Matcha Swiss Cranberry Cream is your new best friend in the kitchen! It’s incredibly easy to whip up, needing just about an hour from start to finish. The flavors balance beautifully—earthy matcha meets the bright tartness of cranberries, creating a dessert that’s both sophisticated and satisfying. Plus, it’s perfect for impressing guests or treating yourself after a long day. Trust me, your taste buds are in for a real delight!
Ingredients for Matcha Swiss Cranberry Cream
Gathering the right ingredients is half the fun of baking! For this Matcha Swiss Cranberry Cream, here’s what you’ll need:
- Eggs: You’ll need large eggs, separated into yolks and whites. They create the base for the sponge and add fluffiness.
- Granulated Sugar: Sweetens the dessert and helps with the sponge’s structure. You’ll use it in two different stages.
- Vegetable Oil: This will add moisture to the sponge, ensuring it remains tender and delicious.
- Whole Milk: Enhances the flavor and texture of the egg yolk mixture. You can swap it for a dairy-free alternative if needed.
- Vanilla Extract: A splash adds warmth and depth to the flavor profile.
- Cake Flour: Use high-quality cake flour for a light, airy sponge. All-purpose flour works in a pinch, but the texture may differ.
- Matcha Powder: This vibrant green powder not only adds flavor but also brings a stunning visual element. Choose high-quality matcha for the best taste.
- Salt: Just a pinch enhances the overall sweetness and balances flavors.
- Cream: Heavy whipping cream is key for making the luscious cranberry filling. Don’t skimp here!
- Powdered Sugar: Sweetens the cream and helps it hold its shape when whipped.
- Cranberries: Fresh or frozen works! They’ll be cooked down to create that delightful tart cranberry flavor.
- Water: Just a bit allows cranberries to simmer and soften properly.
- Powdered Sugar for dusting: This adds a touch of elegance to your finished dessert.
- Optional Garnishes: Fresh mint or more cranberries make beautiful toppings to brighten up your dish.
For exact quantities of each ingredient, check the bottom of the article where they’re listed out for easy printing!
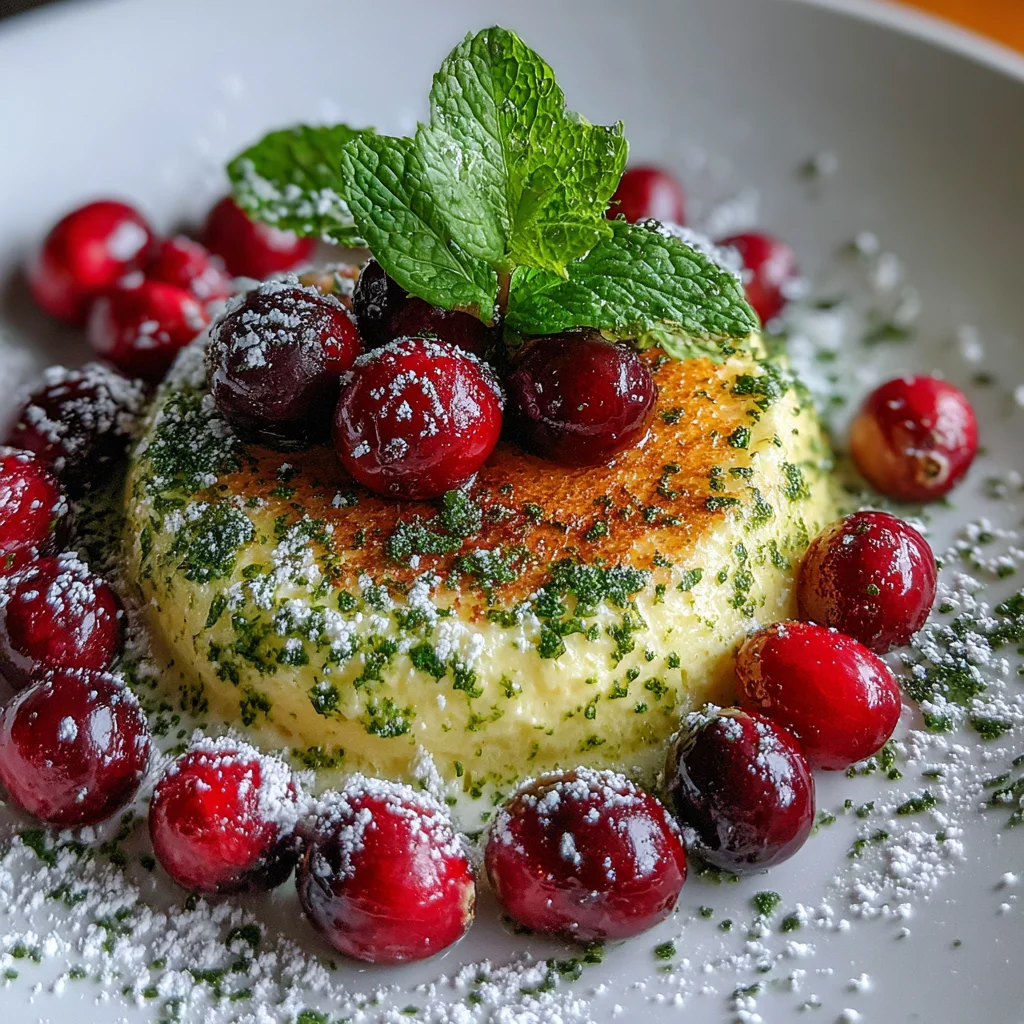
How to Make Matcha Swiss Cranberry Cream
Now that we’ve gathered our ingredients, let’s get into the fun part—making this dreamy Matcha Swiss Cranberry Cream! Follow these steps closely, and you’ll have a delectable dessert that’s sure to wow friends and family.
Step 1: Prepare Equipment and Oven
Start by preheating your oven to 350°F (180°C). This is crucial for a perfectly baked sponge! Line your 9×13-inch jelly roll pan with parchment paper. The parchment is a lifesaver, ensuring your sponge doesn’t stick and makes rolling so much easier later. Trust me, wrestling with a stuck sponge is not on anyone’s dessert list!
Step 2: Cook and Chop Cranberries
In a small saucepan, toss in your cranberries with 2 tablespoons of granulated sugar and 2 tablespoons of water. Heat them over medium. As they simmer, they’ll burst open and create a lovely thick mixture. This usually takes about 5–7 minutes. Keep an eye on them to avoid overcooking! Once they cool, chop them roughly for texture.
Step 3: Mix Egg Yolks Base
In a medium bowl, grab those egg yolks and beat them with half of the granulated sugar. You want them to become thick and pale—this creates a rich, creamy texture. Then, whisk in the vegetable oil, whole milk, and that fragrant vanilla extract. The combo will give your sponge a beautiful flavor!
Step 4: Combine Dry Ingredients
Now, it’s time to sift your cake flour, matcha powder, and salt together. Sifting isn’t just for show; it aerates the flour, making your sponge light and fluffy. Gently fold this mixture into the egg yolk base until just combined. Don’t overdo it—your sponge’s airy quality comes from keeping some bubbles intact!
Step 5: Whip Egg Whites
In a clean mixing bowl, whisk your egg whites until they’re foamy. Gradually add in the remaining granulated sugar while continuing to whip. Your goal is stiff peaks! They should stand tall and hold their shape when you pull the whisk out. This is key for a sponge that rises beautifully.
Step 6: Incorporate Egg Whites
Now, let’s gently fold those fluffy egg whites into your matcha batter. Do it in three additions, being careful not to deflate the mixture. This step is all about keeping the air in the batter, which results in a light and tender cake!
Step 7: Bake Sponge
Pour the batter into your prepared pan and smooth it out evenly. Bake for about 11-13 minutes. To test doneness, gently press the sponge; it should spring back. A perfectly baked sponge means you’re on your way to a lovely roll!
Step 8: Roll Sponge
Cool the sponge for just two minutes. Then, turn it out onto a clean tea towel dusted with powdered sugar. Carefully remove the parchment paper. While it’s still warm, roll the sponge up from the short end using the towel. This helps maintain its shape. Let it cool completely in this rolled-up state.
Step 9: Prepare Cranberry Cream
In a bowl, whip the cold heavy cream with powdered sugar and a splash of vanilla extract until you reach soft peaks. This is where the magic happens! Gently fold in your cooled, chopped cranberries for a pop of flavor and texture. The cream will lighten up the tartness of the fruit beautifully.
Step 10: Assemble Roll
Unroll your cooled sponge gently. Spread the cranberry cream over the surface, leaving about a 3/4-inch border around the edges. Carefully re-roll the cake—this time, without the towel! Try to keep it tight but not so tight that the filling spills out. You got this!
Step 11: Finish and Chill
Trim the ends of the rolled sponge for a clean presentation. Dust the top generously with powdered sugar and garnish with either extra cranberries or mint leaves if you’re feeling fancy. Finally, let it chill in the fridge for at least 30 minutes before slicing. The wait will be worth it when you see those lovely layers!
Tips for Success
- Make sure your egg whites are in a clean bowl; any oil can prevent them from whipping up properly.
- Don’t skip the parchment paper; it makes rolling the sponge effortless.
- Cool the sponge completely before adding the filling to keep it from melting.
- For a more potent matcha flavor, feel free to increase its quantity slightly.
- Keep your tools cool; chilled bowls help achieve whipped cream perfection!
Equipment Needed
- 9×13-inch Jelly Roll Pan: You can use a rimmed baking sheet as an alternative.
- Parchment Paper: For easy release, a silicone baking mat works too!
- Mixing Bowls: A set of mixing bowls in various sizes will suffice—just ensure one is large enough for egg whites.
- Electric Mixer: A whisk can work in a pinch, especially if you’re feeling strong!
- Tea Towel: Any clean dish towel will do for rolling the sponge.
Variations
- Fruit Swaps: Try using different berries, like blueberries or raspberries, for a unique flavor twist!
- Citrus Zest: Add some lemon or orange zest to the cranberry cream for a refreshing citrus kick.
- Dairy-Free Option: Substitute coconut cream for heavy whipping cream to create a dairy-free version of this dessert.
- Sweetener Alternatives: Use honey or maple syrup instead of granulated sugar for a natural sweetener option.
- Nutty Flavor: Fold in some chopped almonds or pistachios into the cranberry cream for added texture and flavor.
Serving Suggestions for Matcha Swiss Cranberry Cream
- Pair with Tea: A warm cup of green tea complements the matcha flavor beautifully.
- Presentation: Serve slices on a colorful plate, garnished with mint leaves or extra cranberries for a pop of color.
- Ice Cream Delight: A scoop of vanilla ice cream on the side adds creaminess and balances the tartness.
- Seasonal Touch: Drizzle with a berry coulis for extra flair during summer gatherings.
- Light Snacks: Enjoy with a side of lightly salted nuts for texture contrast.
FAQs about Matcha Swiss Cranberry Cream
Can I use a different type of flour instead of cake flour?
Absolutely! You can use all-purpose flour in a pinch. Just keep in mind that it may change the texture slightly, making it denser than with cake flour.
How do I know when the sponge is done baking?
A good test is to lightly press the sponge; it should spring back. If it leaves an indentation, it needs a few more minutes. Keep an eye on it as oven times can vary!
How long can I store Matcha Swiss Cranberry Cream?
This delightful dessert can be stored in the fridge for up to three days. Just make sure to cover it gently so it doesn’t dry out.
Can I make this dessert in advance for a party?
Yes! This cake is perfect to prepare ahead of time. Just roll it up and store it in the fridge until you’re ready to serve. It’ll only get better as the flavors meld!
What if I don’t have matcha powder?
If you’re in a bind, you can replace matcha with finely ground green tea. Just be aware that the flavor and color won’t be quite the same, but it can work in a pinch!
Final Thoughts
Creating this Matcha Swiss Cranberry Cream is more than just baking; it’s a joyful journey that brings goodness to the table. Each bite is filled with fluffy sponge and smooth cranberry cream, making every occasion feel special. I love how it brings smiles to my family’s faces, even on the busiest days. Plus, its vibrant colors and flavors are sure to impress any guest! Whether you’re celebrating or simply treating yourself, this dessert is a heartwarming reminder that great things can come from your own kitchen. So roll up your sleeves and enjoy the magic of this delightful creation!