

Introduction to Candy Cane Cookies
Ah, the joy of the holiday season! It seems to sprinkle magic in the air, doesn’t it? One of my favorite festive traditions is baking delightful Candy Cane Cookies. This recipe not only brings warmth to my kitchen but also fills the hearts of my loved ones with joy. Whether you’re a busy mom trying to pull off a holiday miracle or a professional who wants to sweeten a gathering, these cookies are the perfect quick solution. They’re simple, delicious, and look absolutely stunning on any dessert table. Let’s dive into this festive adventure together!
Why You’ll Love This Candy Cane Cookies
These Candy Cane Cookies are a delightful blend of crisp and chewy, with a sweet burst of peppermint in every bite. Perfect for busy schedules, you can whip them up quickly, and they bake in just minutes. Plus, they bring that holiday cheer right to your kitchen! Imagine the smiles on your loved ones’ faces as they indulge in these festive treats. Trust me, these cookies are a sure crowd-pleaser!
Ingredients for Candy Cane Cookies
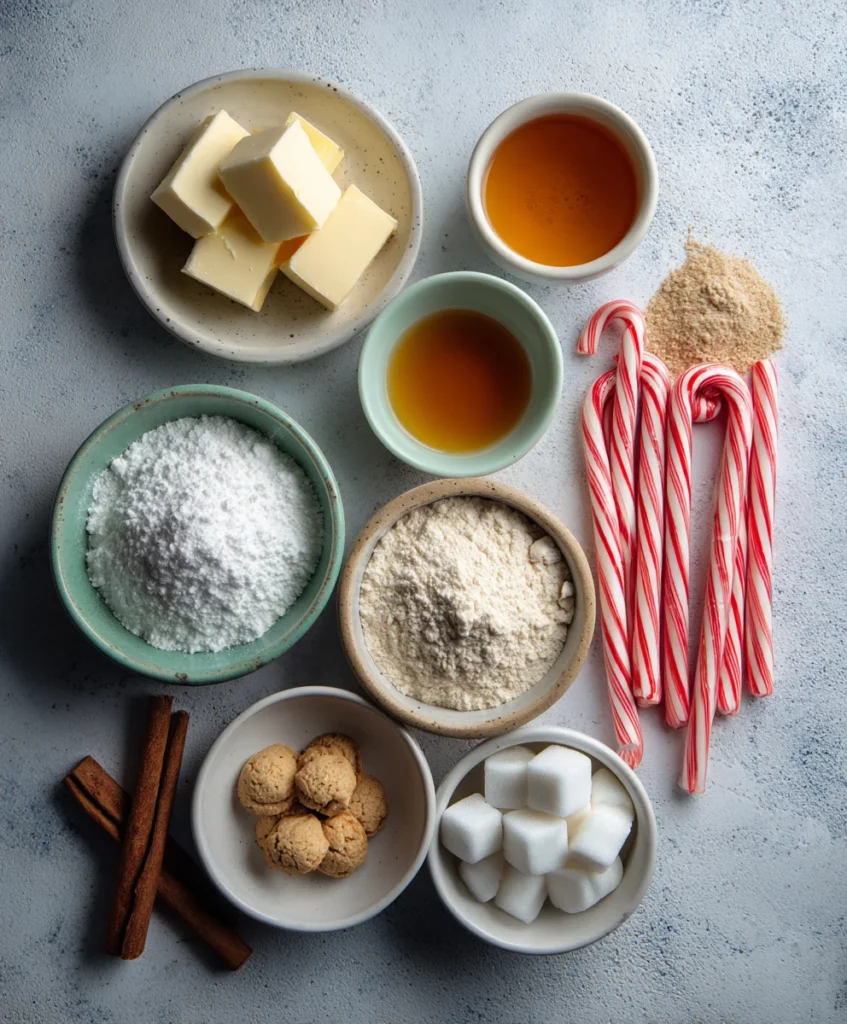
To create these enchanting Candy Cane Cookies, you’ll need a mix of basic ingredients combined with a touch of holiday spirit. Here’s what you’ll gather:
- Unsalted Butter: Ensures a rich taste and tender texture; it’s the foundation of your cookie dough.
- Granulated Sugar: This sweetener gives your cookies that irresistible crunch and sweetness.
- Egg: Acts as a binder, helping everything come together for that soft, chewy bite.
- Vanilla Extract: A must-have for flavor; it adds warmth and familiarity to your cookies.
- Peppermint Extract (optional): This little extra gives a festive zing, adding that signature holiday flavor.
- All-Purpose Flour: The main ingredient that forms the body of the cookies; it provides structure.
- Salt: Brings balance to the sweetness and enhances all the flavors.
- Red Gel Food Coloring: Perfect for creating those signature candy cane swirls; it won’t change the dough’s texture.
- Granulated Sugar for Rolling: Rolling the cookies in sugar adds a sparkling finish and extra sweetness.
Exact measurements are indicated at the bottom of the article, making it easy for you to print and gather your supplies!
How to Make Candy Cane Cookies
Now that you have your ingredients ready, let’s bring these Candy Cane Cookies to life! Follow these simple, step-by-step instructions, and you’ll be on your way to creating treats that not only taste magical but also look fabulous on your holiday table.
Step 1: Cream the Butter and Sugar
Begin by placing your softened unsalted butter and granulated sugar in a large mixing bowl. Cream them together using an electric mixer on medium speed. You want to beat them until the mixture is light, fluffy, and pale in color. This step is crucial as it creates a tender cookie.
Step 2: Add Egg and Extracts
Next, add in your large egg, vanilla extract, and if you choose, the peppermint extract. Beat everything together until it’s fully combined. The aroma at this point is incredible—like a sweet promise of the holidays!
Step 3: Mix Dry Ingredients
In a separate bowl, whisk together the all-purpose flour and salt until evenly mixed. This simple step ensures that the salt is well distributed, avoiding salty bites. Gradually add this dry mixture to your wet ingredients, mixing just until a soft dough forms. Don’t overmix, or your cookies may lose that delicate texture!
Step 4: Divide and Color the Dough
Once your dough is ready, divide it in half. Keep one portion plain for that classic look. Now for the fun part—take the other half and add red gel food coloring to achieve that lovely candy cane hue. Start with a little and mix; you can always add more to reach your desired shade.
Step 5: Chill the Dough
Wrap each dough portion tightly in plastic wrap. Pop them into the refrigerator for about 30 to 45 minutes. Chilling not only makes the dough easier to handle but also prevents those pesky cookie spread-outs during baking!
Step 6: Shape the Cookies
After some time in the chill box, it’s time to shape your cookies. Take equal parts of the red and white dough and roll them into ropes, about 6 inches long. Gently twist them together, forming a beautiful candy cane shape. Or, get creative and make wreath shapes if you fancy!
Step 7: Bake and Cool the Cookies
Roll each shaped cookie in granulated sugar for that festive sparkle. Place them on a lined baking sheet, ensuring they’re spaced out. Bake them in a preheated oven at 350°F (175°C) for about 8 to 10 minutes. Look for a light golden bottom to know they’re done. After baking, let them cool for 5 minutes on the sheet before transferring them to a wire rack to cool completely. Your kitchen will smell like a winter wonderland!
Tips for Success
- Chill the dough! This makes shaping the cookies easier and keeps them from spreading too much.
- Use gel food coloring for vibrant hues without affecting the dough’s consistency.
- Don’t overbake; remove them when the bottoms are just lightly browned to maintain that soft texture.
- Experiment with shapes! Candy canes aren’t the only way to get creative.
Equipment Needed
- Mixing Bowl: Any good-sized bowl will do, but a glass bowl allows you to see the ingredients mixing!
- Electric Mixer: A hand mixer works perfectly, but if you’re feeling strong, a whisk can be a great workout!
- Baking Sheet: Use any rimmed sheet; just make sure it’s lined with parchment paper for easy cleanup.
- Plastic Wrap: Keep it handy for chilling the dough; wax paper serves as a good alternative.
Variations
- Chocolate Chip Candy Cane Cookies: Add mini chocolate chips to the dough for a delightful contrast of flavors.
- Gluten-Free Version: Substitute all-purpose flour with a gluten-free blend to accommodate dietary needs.
- Colorful Swirls: Use different gel food colors like green and blue for a fun festive twist!
- Lemon Zest: Mix in some lemon zest along with the extracts for a refreshing citrusy flavor.
- Nutty Delight: Incorporate finely chopped nuts, like almonds or pecans, for an added crunch and flavor.
Serving Suggestions
- Hot Cocoa: Pair your Candy Cane Cookies with a warm mug of hot cocoa for a comforting treat.
- Festive Platter: Arrange cookies on a decorative platter with holiday-themed garnishes like fresh mint leaves.
- Milk: Serve with a tall glass of chilled milk for a classic combo that never fails!
- Gift Boxes: Place cookies in festive boxes to share with friends and neighbors as heartfelt gifts.
FAQs about Candy Cane Cookies
Can I freeze Candy Cane Cookies?
Absolutely! These festive treats freeze beautifully. After baking, let them cool completely, then store them in an airtight container or freezer bag. They last up to three months in the freezer. Just thaw them at room temperature when you’re ready to enjoy!
Can I make these cookies with whole wheat flour?
You can certainly use whole wheat flour! This will give your Candy Cane Cookies a nuttier flavor and a slightly denser texture. Just remember to adjust for moisture since whole wheat flour absorbs more liquid. Adding a bit more butter or an extra egg can help!
How do I store leftover Candy Cane Cookies?
Store your cookies in an airtight container at room temperature. They keep fresh for about a week. If you want to extend their life, you can place parchment paper between layers to keep them soft and intact. Enjoy them throughout the holiday season!
What can I use instead of peppermint extract?
If you’re not a fan of peppermint, try using almond extract for a sweet and nutty twist. Vanilla extract works well too, keeping it simple yet delicious, but won’t give you that signature holiday taste.
Can kids help make Candy Cane Cookies?
For sure! This recipe is perfect for involving little helpers. They can assist in mixing, rolling, and shaping the cookies, making it a delightful bonding experience. Just watch them carefully during the baking process to ensure everyone stays safe!
Final Thoughts
Baking Candy Cane Cookies combines the warmth of the holiday spirit with the joy of creating something special. The sights and smells of these delightful treats filling your kitchen can become cherished memories for you and your family. Watching your loved ones’ eyes light up as they enjoy each festive bite makes the effort worthwhile. Whether you’re sharing these cookies at a gathering or packaging them up as gifts, they embody the true essence of the season. So roll up your sleeves, and let’s spread some holiday cheer with these tasty handmade delights!