
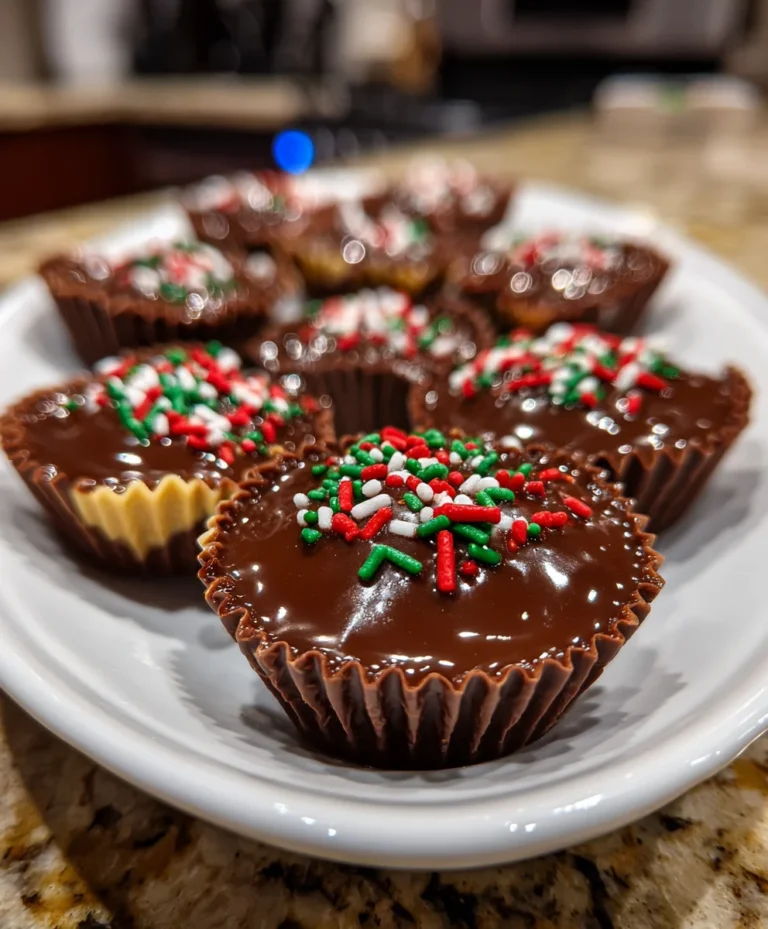
Introduction to Christmas Chocolate Caramel Cups
Let’s talk about the magic of the holiday season! There’s something special about gathering with loved ones, and I find that nothing brings smiles quite like homemade treats. That’s where my Christmas Chocolate Caramel Cups come in! These delightful bites are a quick solution for busy days, ready in under two hours.
Picture this: chocolate and caramel dancing together in a little cup of bliss. They’re not just tasty; they’re perfect for sharing with family or impressing friends at your holiday party. Let’s dive into this recipe that brings sweetness and warmth to your festive moments!
Why You’ll Love This Christmas Chocolate Caramel Cups
These Christmas Chocolate Caramel Cups are the perfect blend of flavor and convenience. Ready in just under two hours, they shine even on the busiest days of the holiday season.
The taste is simply irresistible, with rich chocolate and gooey caramel harmonizing beautifully. Plus, they’re an absolute hit with the whole family! Trust me, these sweet treats will leave everyone asking for more. They’re festive, fun, and super easy to make!
Ingredients in Christmas Chocolate Caramel Cups
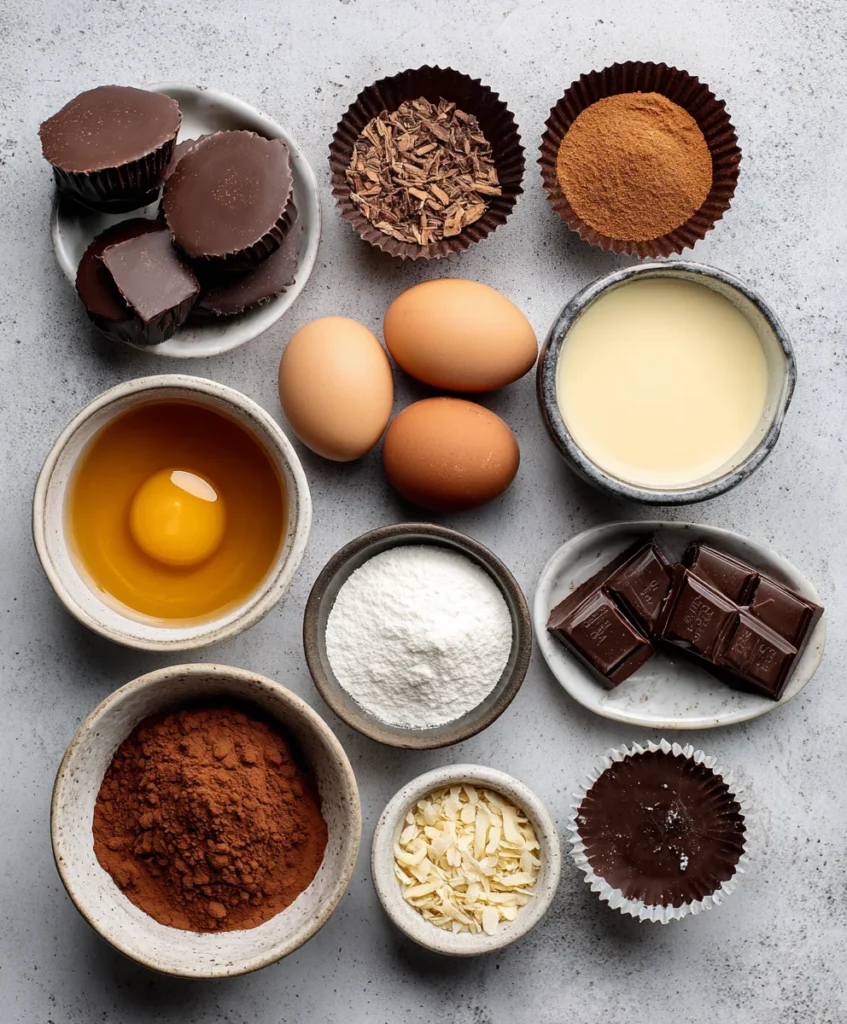
When it comes to making these delectable Christmas Chocolate Caramel Cups, gathering the right ingredients is essential. Here’s what you’ll need:
- Sugar: The sweet foundation of our caramel, providing that rich, velvety flavor that makes you swoon.
- Heavy Cream: Adds creaminess to the caramel and helps it maintain that gooey texture we all love.
- Chocolate Almond Bark: This is the star of the show! It’s smooth and melts easily, making it perfect for our chocolate cups.
- Holiday Sprinkles: They’re optional, but trust me, they add a festive touch and an extra pop of color.
If you’re feeling adventurous, you can experiment with different types of chocolate. Dark chocolate can elevate the flavor, or even a sprinkle of sea salt on top can contrast beautifully with the sweetness!
For exact measurements, don’t forget to check at the bottom of the article where you’ll find everything ready for printing. Happy cooking!
How to Make Christmas Chocolate Caramel Cups
Now comes the fun part: making our delicious Christmas Chocolate Caramel Cups! I promise, it’s easier than it looks. Just follow these straightforward steps for a holiday treat that’ll wow your friends and family!
Step 1: Prepare the Cupcake Liners
First, grab your mini cupcake liners and place them in a mini cupcake tin. This ensures each cup holds its shape. I like to use festive liners with holiday designs because they add an extra cheer to the treats! Setting these up might feel simple, but trust me, it lays the groundwork for deliciousness.
Step 2: Melt the Chocolate Almond Bark
In a large bowl, break half of the chocolate almond bark into pieces. Pop it in the microwave, and melt it in 30-second increments. Stir between bursts to avoid scorching it. Once it’s smooth, you’ve got a luscious chocolate base. There’s something satisfying about watching chocolate transform, like magic in your kitchen!
Step 3: Build the Chocolate Cups
Now, let’s transform that melted chocolate into cups! Spoon a bit into each cupcake liner, ensuring you coat the sides. Use a small spoon or even a paintbrush if you’re fancy (I love doing this!). Keep layering until you can’t see the bottom of the liners. Your patience pays off as they harden into beautiful chocolate cups.
Step 4: Make the Caramel
This step is where the real indulgence begins! In a heavy-bottomed pot, add the sugar and heat it slowly over medium. Stir gently while the sugar melts. Watch closely so it doesn’t burn; think of it like keeping an eye on a precious gift! Once your sugar turns a lovely amber color, whisk in the heavy cream gradually. It’ll bubble up, so be careful. This creamy caramel will take your chocolate cups to the next level!
Step 5: Combine and Finalize the Cups
Let the caramel cool in a bowl in the fridge for about 30 minutes. This thickens it, making it easier to spoon into your chocolate cups. When it’s ready, carefully fill each cup without overflowing—nobody wants a chocolate mess! Lastly, melt the remaining chocolate almond bark and spoon it over the caramel. Spread it to the edges and finish with those merry holiday sprinkles. Then, refrigerate one last time for about an hour to let everything set.
Just like that, you’ve created festive Christmas Chocolate Caramel Cups! Feel free to admire your work before sharing—although I guarantee the first bite will leave everyone clamoring for more.
Tips for Success
- Always watch the sugar closely while melting; it can go from golden to burnt in seconds!
- Ensure your chocolate layers are thick enough to hold the caramel without leaking.
- Use a precise spoon or squeeze bottle for easier caramel distribution.
- Don’t skip the chilling time—it’s crucial for the best texture!
- Get creative with sprinkles to match your holiday theme.
Equipment Needed
- Mini cupcake tin: A standard muffin tin works if you can line the cups.
- Microwave-safe bowl: Any bowl will do, even a glass measuring cup.
- Small spoon or paintbrush: A spatula can also be used for spreading.
- Heavy-bottomed pot: Choose a regular saucepan if you don’t have one.
Variations
- For a nutty twist, consider adding a layer of chopped nuts—like pecans or walnuts—on top of the caramel for extra crunch.
- Swap the chocolate almond bark for dark or white chocolate for a different flavor profile.
- Add a hint of flavor by incorporating peppermint extract into the caramel for a festive minty touch.
- Make these dairy-free by using coconut cream and dairy-free chocolate alternatives.
- Experiment with flavored sprinkles or chopped holiday candies for a fun twist on decoration!
Serving Suggestions
- Pair these Christmas Chocolate Caramel Cups with a warm cup of hot cocoa or festive holiday punch.
- Serve them on a colorful platter sprinkled with fresh winter greens for a beautiful presentation.
- For a fun touch, add little tags labeling each chocolate cup with festive wishes!
- Include a dessert table with traditional holiday treats to create a sweet spread.
FAQs about Christmas Chocolate Caramel Cups
Can I make these Christmas Chocolate Caramel Cups ahead of time?
Absolutely! These treats can be made a few days in advance. Just keep them stored in an airtight container in the fridge. They taste delicious even after a couple of days!
What if I don’t have chocolate almond bark?
No worries! You can substitute with any chocolate chips—milk, dark, or white chocolate will do. Just ensure they melt smoothly for your chocolate cups.
How do I store leftovers?
Store any leftover cups in an airtight container in the fridge. Remember to separate layers with parchment paper to avoid sticking. Enjoy them within a week for the best taste!
Can I use different fillings in the chocolate cups?
Certainly! You can fill them with other goodies like peanut butter, fruit preserves, or even mini marshmallows for a tasty surprise inside. The possibilities are endless!
What is the best way to serve these treats at a holiday gathering?
Arrange them on a festive platter with holiday-themed decorations. Pair them with drinks, like a rich hot chocolate or spiced cider, for a delightful treat your guests will love!
Final Thoughts
Creating these Christmas Chocolate Caramel Cups is an adventure wrapped in sweetness. When I see the smiles they bring, it’s a reminder of the joy the holidays can hold. This recipe isn’t just about indulging in delightful treats; it’s about making memories with family and friends. Whether you’re sharing them at a gathering or enjoying them tucked in after dinner, these cups spread warmth and cheer. So roll up your sleeves, gather your loved ones, and embark on this delicious journey. Trust me, it’s a holiday tradition you’ll cherish forever!