
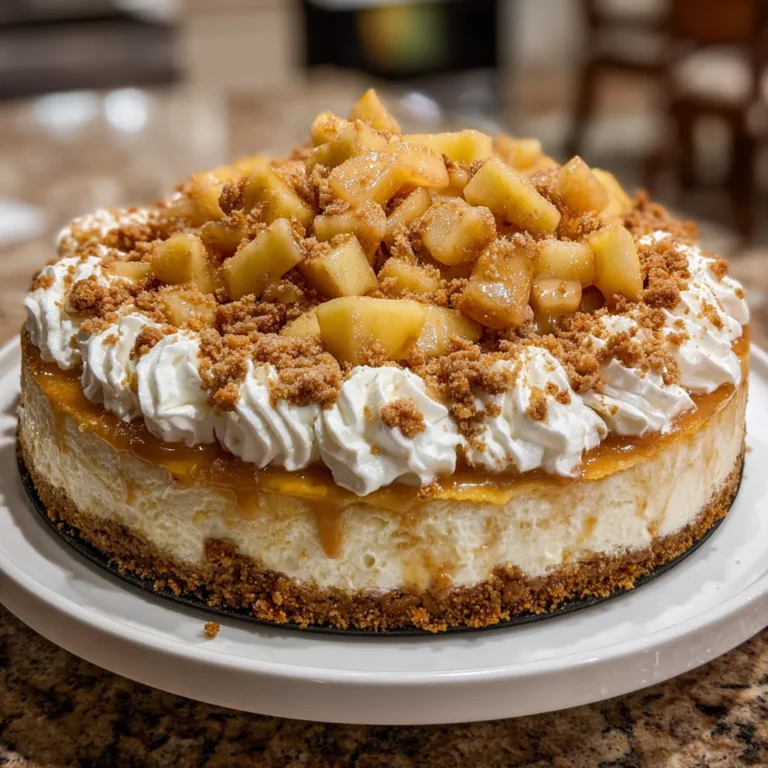
Introduction to Apple Crisp Cheesecake
Are you craving a dessert that warms your heart and impresses your family? Let me introduce you to the delightful Apple Crisp Cheesecake! This scrumptious dessert combines the comforting flavors of traditional apple crisp with the rich, creamy decadence of cheesecake. As a busy mom, I know how challenging it can be to juggle family, work, and wanting to whip up something special. This recipe is perfect for those cozy nights or gatherings, making it an absolute crowd-pleaser. Trust me, your loved ones will savor every bite, and you’ll get the joy of creating something truly memorable!
Why You’ll Love This Apple Crisp Cheesecake
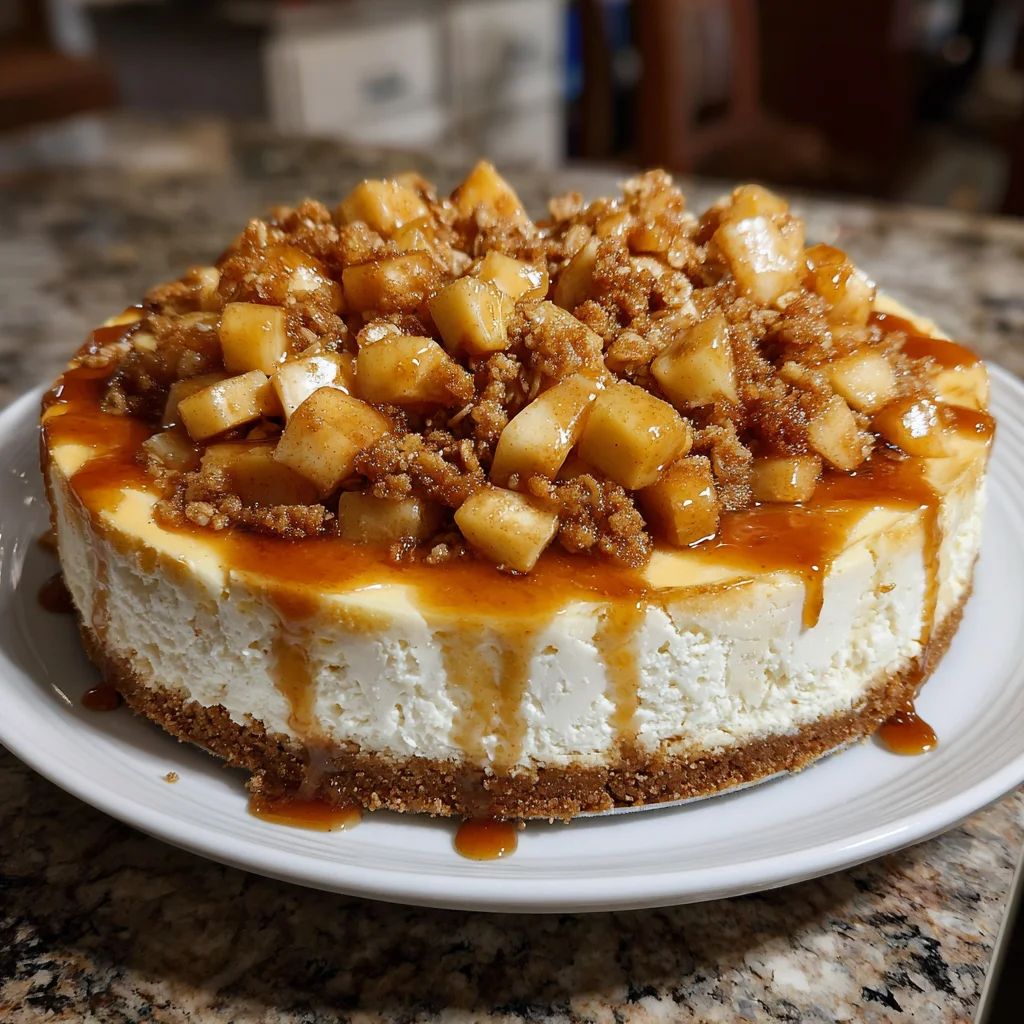
This Apple Crisp Cheesecake is a dream come true for busy moms and dessert lovers alike! Imagine the delightful fusion of creamy cheesecake and warm, cinnamon-spiced apples, all nestled under a crunchy oat topping. It’s easy to make, and it comes together in just a couple of hours. Perfect for family gatherings or cozy nights in, this dessert is sure to become a cherished favorite in your home!
Ingredients for Apple Crisp Cheesecake
Gathering the right ingredients is key to a successful Apple Crisp Cheesecake. You’ll need crushed graham crackers for a buttery crust that holds it all together. Melted unsalted butter adds richness, ensuring a delightful base. The creamy filling starts with softened cream cheese mixed with granulated sugar, creating a luscious texture. Three large eggs bring stability to the cheesecake, while vanilla extract adds a delightful aroma.
Next, we incorporate diced apples, which infuse each bite with natural sweetness and a bit of tang. Cinnamon sprinkles warmth, elevating the apple flavor beautifully. For that iconic crisp topping, brown sugar, rolled oats, and flour combine for a crunchy finish. If you like added texture, feel free to include chopped nuts. Remember, exact quantities are at the bottom of the article for printing, making it easy for you to create this delicious dessert!
How to Make Apple Crisp Cheesecake
Creating your own Apple Crisp Cheesecake is easier than you might think! Just follow these step-by-step instructions, and soon you’ll have a dessert that evokes cozy memories and delicious flavors.
Preheating the Oven and Preparing the Crust
Start by preheating your oven to 325°F (160°C). This ensures your cheesecake bakes evenly.
Next, grab a bowl and mix the crushed graham crackers and melted unsalted butter until combined. The mixture should resemble wet sand.
Now for the fun part—press this mixture firmly into the bottom of a springform pan. Make sure it’s even, as this will be the sturdy base for your cheesecake. Don’t be shy! Use your fingers to really compact it.
Making the Cheesecake Filling
In a separate bowl, beat the softened cream cheese and granulated sugar together until the mixture is smooth and lump-free. This step is super important because a smooth filling makes for a fantastic cheesecake!
Once it’s nice and creamy, add the eggs one at a time. Mix until just combined after each addition; over-mixing can make your cheesecake tough.
Stir in the vanilla extract for that inviting aroma and rich flavor. Now, pour this wonderful filling over your prepared crust. Make sure it’s spread evenly to create a lovely, creamy layer!
Layering with Apples and Topping
Now, let’s add those delicious apples! In a bowl, toss the diced apples with cinnamon until they’re well-coated. This simple step elevates the apple flavor so beautifully.
Carefully layer the cinnamon-spiced apples on top of the cheesecake batter. This will create a stunning layer of sweetness that pairs perfectly with the rich filling.
For the crisp topping, mix brown sugar, rolled oats, and flour in a separate bowl. If you’re feeling adventurous, add in chopped nuts for extra crunch. Sprinkle this topping evenly over the apples, making sure to cover as much as possible. This will give you that delightful crunch we all love!
Baking to Perfection
Now it’s time to bake this beauty! Place your springform pan in the preheated oven and let it bake for 60 to 70 minutes. The cheesecake will be done when it’s set around the edges but still has a slight wobble in the center.
When it’s finished, turn off the oven and crack the door, letting the cheesecake cool slowly inside. This helps prevent cracks from forming on the surface.
Once the cheesecake is completely cool, remove it from the oven and let it cool at room temperature for a little longer before refrigerating. It’s important to let it chill completely in the fridge for at least four hours or overnight. This gives it time to set up beautifully and makes slicing easier.
And there you have it—a glorious Apple Crisp Cheesecake that’s ready to impress! Enjoy the satisfaction of sharing a homemade dessert that tastes like love on a plate.
Tips for Success
To make your Apple Crisp Cheesecake even more delightful, here are some quick tips.
First, ensure your cream cheese is at room temperature; this makes mixing a breeze!
Also, don’t hesitate to experiment with different apple varieties. Sweet or tart, each brings its own unique flair.
Lastly, feel free to modify the topping; try adding coconut flakes or even using gluten-free oats for variety!
Equipment Needed
To whip up your Apple Crisp Cheesecake, you’ll need a few essential tools. A springform pan is vital for easy removal. Mixing bowls are a must, and a hand mixer makes blending the filling effortless. If you don’t have a hand mixer, a sturdy whisk will do the job, too!
Variations
Don’t be afraid to get creative with your Apple Crisp Cheesecake! For a gluten-free option, swap the graham crackers for gluten-free ones and use certified gluten-free oats in the topping.
If you’re looking for a vegan twist, try using a dairy-free cream cheese alternative and replace the eggs with flax eggs or unsweetened applesauce. You can also experiment with alternative sweeteners, like honey or maple syrup, for a unique flavor profile!
These simple modifications can help you cater to various dietary needs while still enjoying that delicious Apple Crisp Cheesecake experience!
Serving Suggestions
To elevate your Apple Crisp Cheesecake experience, consider serving it with a scoop of vanilla ice cream or a dollop of whipped cream. A cup of warm coffee or spiced tea complements the flavors beautifully.
For a lovely presentation, place slices on a decorative platter and garnish with fresh apple slices and a sprinkle of cinnamon. This will wow your guests and create a stunning dessert table!
FAQs about Apple Crisp Cheesecake
How do I store Apple Crisp Cheesecake? Store your cheesecake in an airtight container in the fridge for up to five days. To keep it fresh, consider placing a piece of plastic wrap directly on the surface before covering.
Can I reheat it? Yes! To enjoy a warm slice, pop it in the microwave for about 10-15 seconds. Alternatively, rewarm in a 200°F oven for about 10 minutes for a gentle warm-up without drying it out.
What type of apples are best for this recipe? I love using Granny Smith apples for their tartness, but you can also use Honeycrisp or Fuji for a sweeter twist. Mixing types can create a delightful balance!
Can I make it ahead of time? Absolutely! This Apple Crisp Cheesecake can be made a day or two in advance. Just remember to chill it in the fridge, allowing the flavors to meld beautifully.
Final Thoughts
Creating this Apple Crisp Cheesecake isn’t just about making a dessert; it’s about crafting moments. Each slice invites family and friends to gather, building memories over a dish that combines comfort and style. Imagine the smiles as everyone savors the creamy cheesecake and delightful crunch of the topping. This dessert is not only easy to make, but it also makes you look like a pro in the kitchen!
So go ahead—try this recipe and let your loved ones experience the joy of homemade goodness. I’d love to hear about your adventures in baking, so don’t forget to share your stories!