
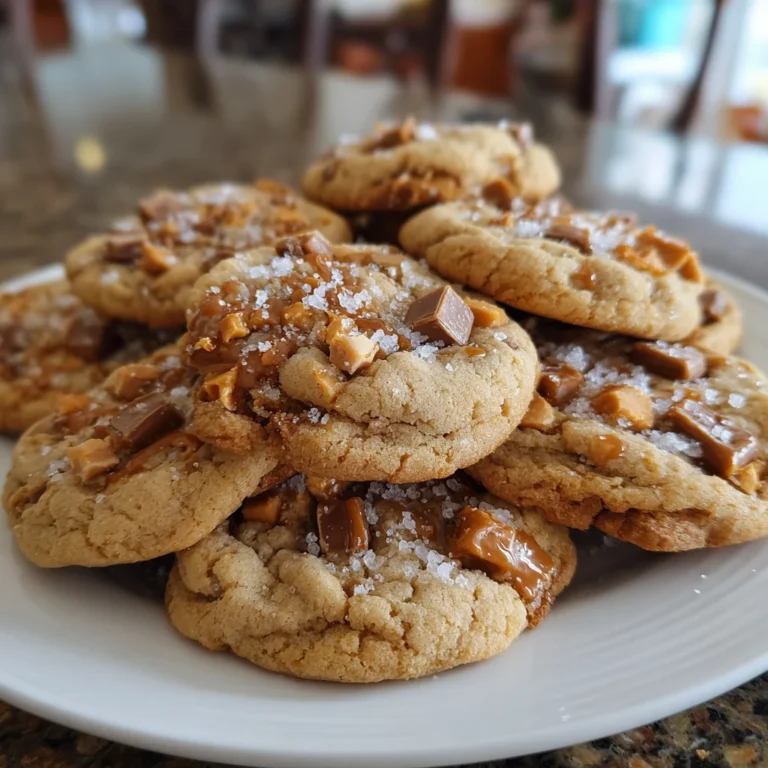
Introduction to Butterfinger Caramel Crunch Cookies
Life can get pretty hectic, can’t it? With busy days and endless to-do lists, we all need a sweet escape. That’s where my Butterfinger Caramel Crunch Cookies come in! They’re perfect for those moments when you need a quick, delicious treat to impress your loved ones or indulge in after a long day. Each cookie bursts with flavors of Butterfinger candy, chewy caramel bits, and a hint of sea salt. Trust me, this recipe will become your go-to for satisfying cravings or sharing joy with family and friends.
Why You’ll Love This Butterfinger Caramel Crunch Cookies
These Butterfinger Caramel Crunch Cookies are not just tasty; they’re a breeze to whip up! With a prep time of just 15 minutes, you’ll have heavenly cookies in no time. The delightful combination of chocolatey, crunchy, and gooey textures will have your family begging for more. Plus, they’re perfect for baking with your kids or whipping up for last-minute gatherings. Trust me, every bite feels like a warm hug from the inside out!
Ingredients for Butterfinger Caramel Crunch Cookies
Let’s gather the magic ingredients for these delightful Butterfinger Caramel Crunch Cookies! First, you’ll need unsalted butter for that rich creaminess.
Next, light brown sugar and granulated sugar add a perfect sweetness and depth to your cookies.
Two large eggs help bind everything together, while vanilla extract adds a lovely aroma.
For the base, all-purpose flour is key along with baking soda for that nice rise. Don’t forget a pinch of salt to enhance all those delicious flavors!
The stars of the show are crushed Butterfinger candy bars for a chocolatey crunch, soft caramel bits for gooeyness, and chopped peanuts for an extra bite.
Lastly, some sea salt flakes sprinkled on top create an irresistible contrast. Specific quantities can be found at the bottom of the article for your convenience!
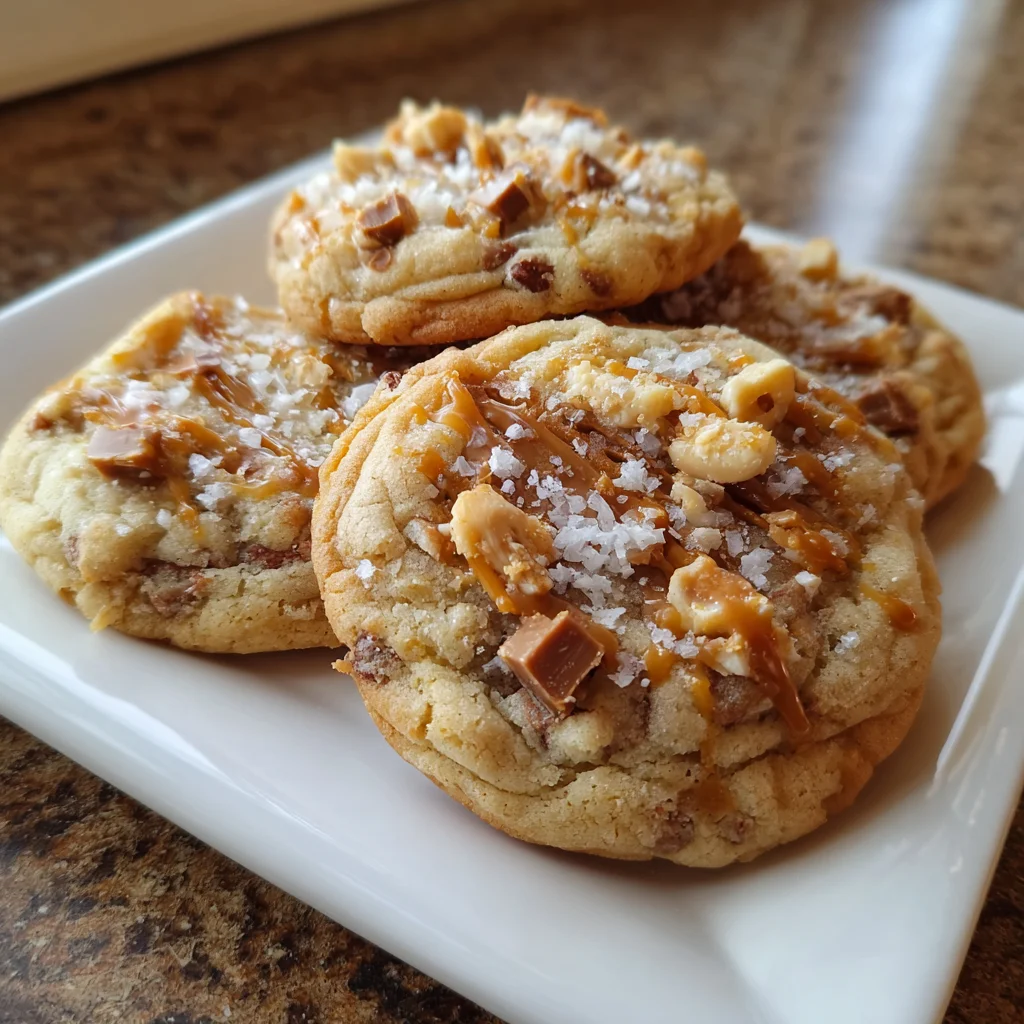
How to Make Butterfinger Caramel Crunch Cookies
Step 1: Preheat the Oven and Prepare the Baking Sheet
First things first, preheat your oven to 350°F. This creates the perfect environment for baking.
While the oven is warming up, line a baking sheet with parchment paper or a silicone mat. This will help prevent the cookies from sticking, making cleanup a breeze!
Step 2: Cream the Butter and Sugars
In a large mixing bowl, combine the softened unsalted butter, light brown sugar, and granulated sugar.
Beat these together until the mixture is smooth and fluffy—around 2 to 3 minutes should do the trick. This process incorporates air into the mixture, giving your cookies that light texture.
Step 3: Add the Eggs and Vanilla
Now it’s time to add in your eggs, one at a time. Make sure to mix well after each addition. This step is crucial, as it helps bind everything together.
Next, pour in the vanilla extract for that charming aroma. Just a whiff will make your kitchen smell heavenly!
Step 4: Combine Dry Ingredients
In a separate bowl, whisk together the all-purpose flour, baking soda, and salt.
This step ensures even distribution of baking soda, so each cookie rises perfectly. Gradually add this dry mixture to your wet ingredients, mixing on low speed until just combined. You don’t want to over-mix; a lumpy dough is just fine!
Step 5: Mix Everything Together
Here comes the fun part! Gently fold in those crushed Butterfinger candy bars, caramel bits, and chopped peanuts.
Make sure they’re evenly distributed throughout the dough. Each bite should include all those scrumptious flavors, not just one!
Step 6: Shape the Cookies
Using a tablespoon or a cookie scoop, begin to place dough portions onto your prepared baking sheet.
Space them about 2 inches apart, as they will spread while baking. There’s nothing worse than cookie dough blobs merging into one giant cookie!
Step 7: Add Sea Salt and Bake
Before popping them in the oven, sprinkle a few flakes of sea salt over each dough ball. This step elevates the flavors to a whole new level!
Bake your cookies for 10 to 12 minutes. You’re aiming for golden edges with soft centers. Don’t worry; they’ll firm up as they cool.
Step 8: Cool the Cookies
Once baked, let the cookies cool on the baking sheet for about 5 minutes. This allows them to set without falling apart.
After, transfer them to a wire rack. Letting them cool completely will help them stay chewy and delicious. Enjoy the sweet aroma wafting through your kitchen as you anticipate the first bite!
Tips for Success
- Make sure your butter is softened to room temperature before creaming; it ensures a lighter texture.
- Chill the dough for 30 minutes for thicker, chewier cookies.
- Use a cookie scoop for uniform sizing.
- Experiment with additional toppings like chocolate chips or crushed pretzels.
- Keep an eye on the baking time—every oven is different!
Equipment Needed
- Large mixing bowl for combining ingredients.
- Hand mixer or stand mixer to cream the butter and sugars; a whisk will work too, but it takes more effort.
- Baking sheet lined with parchment paper or a silicone mat.
- Cookie scoop or tablespoon for shaping the cookies.
- Wire rack for cooling the cookies.
Variations on Butterfinger Caramel Crunch Cookies
- For a nut-free option, simply omit the chopped peanuts or substitute sunflower seeds for a similar crunch.
- Try using dark chocolate Butterfinger for a rich flavor twist—perfect for chocolate lovers!
- Substitute the caramel bits with marshmallow crème for a gooey, fluffy texture.
- Experiment with flavored extracts, like hazelnut or almond, for a distinct taste.
- Make them gluten-free by replacing all-purpose flour with a 1:1 gluten-free flour blend.
Serving Suggestions for Butterfinger Caramel Crunch Cookies
- Pair these cookies with a tall glass of cold milk for a classic treat.
- Serve them warm alongside a scoop of vanilla ice cream for an indulgent dessert.
- Arrange the cookies on a colorful platter for festive occasions.
- For an afternoon pick-me-up, enjoy with a steaming cup of coffee or tea.
FAQs about Butterfinger Caramel Crunch Cookies
Here are some common questions I’ve encountered while baking these delightful Butterfinger Caramel Crunch Cookies. I hope they help ease your cookie-making journey!
Can I use other types of candy in this recipe? Absolutely! While Butterfinger is the star, feel free to experiment with Reese’s Pieces or Milky Way for different flavors!
How should I store these cookies? Store your cookies in an airtight container at room temperature. They’ll stay fresh for about a week. For longer storage, you can freeze them!
Can I make the dough ahead of time? Yes, you can! Prepare the cookie dough and chill it in the fridge for up to 2 days. Just scoop and bake when you’re ready.
Why are my cookies flat? Flat cookies can result from overmixing the dough or warm butter. Make sure your butter is softened, not melted, before mixing.
Can I make these cookies vegan? You can try using a plant-based butter substitute and flax eggs in place of regular eggs for a vegan twist!
Final Thoughts
Baking these Butterfinger Caramel Crunch Cookies is truly more than just whipping up a batch of treats; it’s an opportunity to create sweet memories in the kitchen. From the moment the aroma fills your home to the delight in your loved ones’ eyes as they take that first bite, this recipe brings sheer joy.
Whether you’re sharing them on a special occasion or sneaking a midnight snack, these cookies remind us that life is all about savoring the little moments. So go on, indulge in this delicious adventure, and let your taste buds celebrate!