
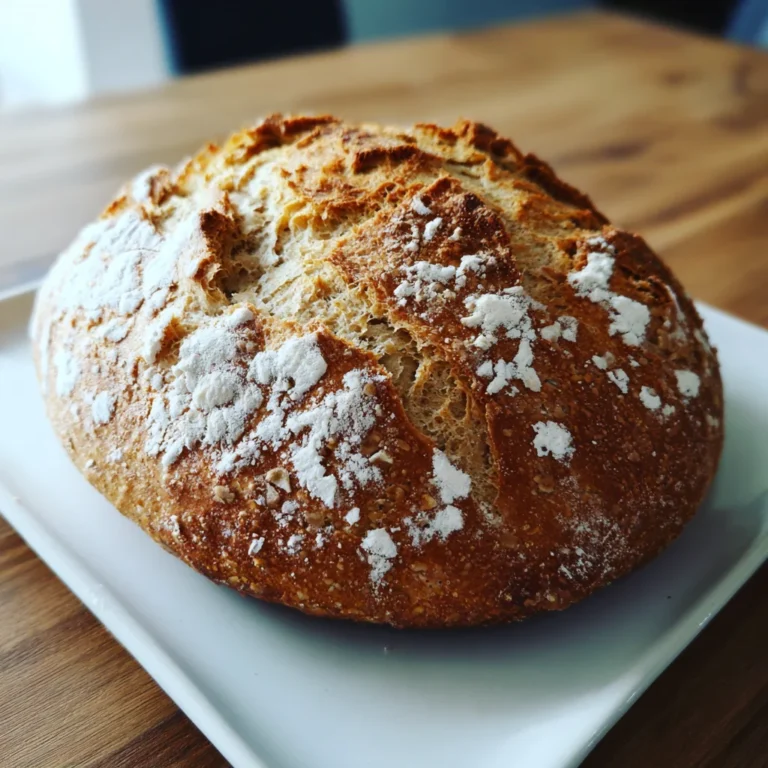
Introduction to Sourdough Starter Whole Grain
Welcome to the wonderful world of baking! If you’re a busy mom or professional, like me, you know how precious time can be. But let me tell you, creating your own sourdough starter whole grain can be both fulfilling and surprisingly easy. Imagine the aroma of fresh-baked bread wafting through your home after just a bit of patience and care. This starter is not just about baking; it’s about embracing the art of fermentation and delighting your loved ones with wholesome goodness. So grab your apron, and let’s embark on this delightful baking journey together!
Why You’ll Love This Sourdough Starter Whole Grain
This sourdough starter whole grain is a game changer for busy schedules. It makes baking easier and elevates flavor in every loaf. You won’t just save time; you’ll also impress your family with delicious, hearty bread that’s packed with nutrients. Plus, the tangy taste and chewy texture are simply irresistible! This starter is your secret weapon for wholesome, mouth-watering bakes that everyone will love.
Ingredients for Sourdough Starter Whole Grain
Creating your very own sourdough starter whole grain is all about the right ingredients. Let’s gather what you need:
- Whole Grain Rye Flour or Whole Wheat Flour: These flours provide the perfect nutritional base for our starter. They are packed with flavor and beneficial nutrients. Organic varieties are ideal as they’re free from harmful chemicals.
- All-Purpose Flour: This unbleached flour acts as a food source for your starter during the feeding process. It helps in developing that lovely sourdough flavor. Choose organic if possible for the best quality.
- Filtered or Spring Water: Water should be at room temperature for optimal fermentation. Using filtered or spring water ensures that chlorine does not interfere with your starter’s growth.
These ingredients come together to create a lively starter. Remember, the exact quantities for each ingredient are tucked away at the bottom of the article for printing ease. Let’s harness the power of these wholesome elements and start our baking adventure!
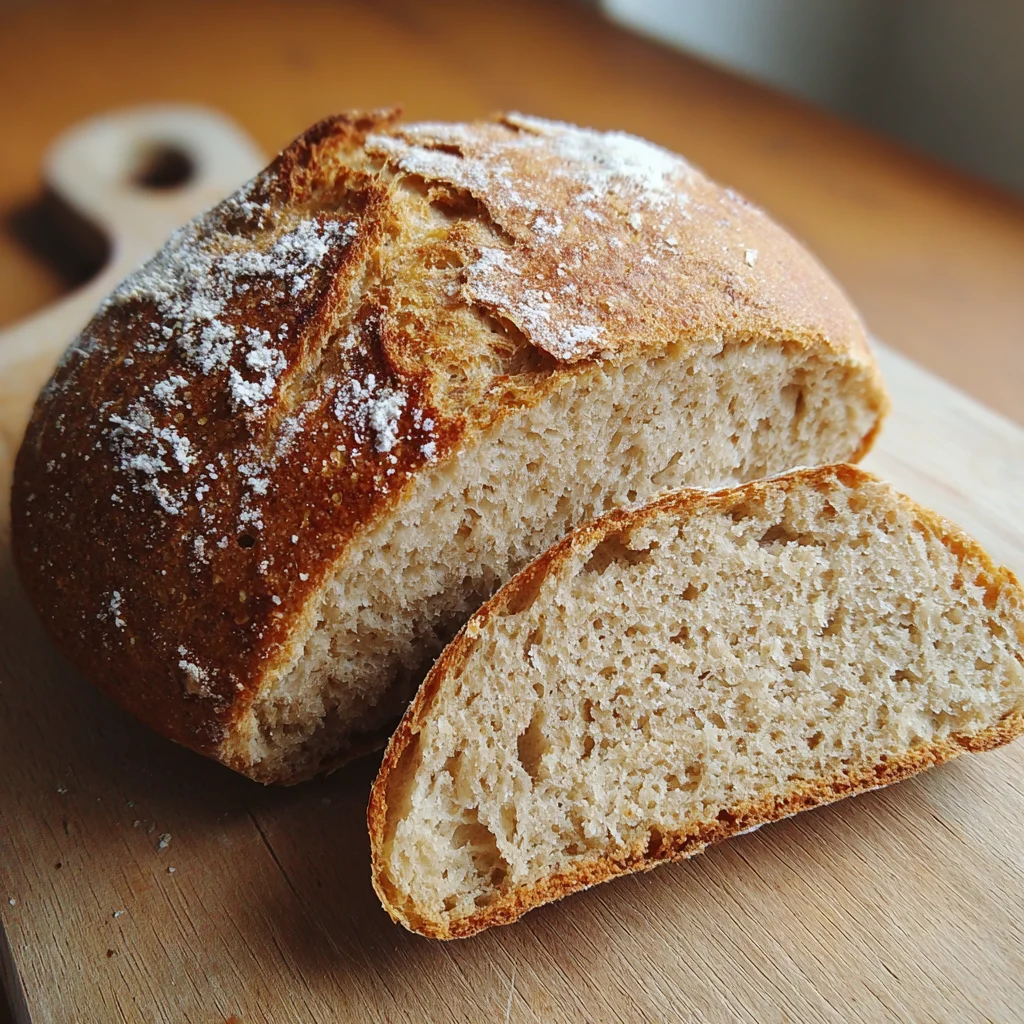
How to Make Sourdough Starter Whole Grain
Alright, let’s roll up our sleeves and dive into the fun part: crafting your sourdough starter whole grain! Follow these straightforward steps, and soon, you’ll have a bubbling, lively starter that’s perfect for your baking adventures.
Step 1: Prepare Your Jar
Start with a clean glass jar. I prefer a quart-sized jar, as it gives the starter room to rise. Weigh the jar empty and write down the weight along with today’s date. This way, you’ll have a handy reference for your sourdough journey!
Step 2: Initial Mixing
Now, add 100 g of whole grain rye flour or whole wheat flour to your jar. Follow this by pouring in 100 g of room-temperature water. Mix it all together until it’s smooth — no dry spots should remain. Scrape down the sides so everything is well-combined. Then, loosely cover the jar with a lid or cloth and secure it with a rubber band to mark the starter height. Let it rest in a cozy spot at room temperature for 24 hours.
Step 3: Observe and Wait
Patience is key! After the first 24 hours, take a look at your starter. You might see a few small bubbles forming, which is a good sign. If nothing’s happening, don’t panic; fermentation can be a little finicky. Just leave it covered at room temperature for another day.
Step 4: First Feeding
After the second day, it’s time for the first feeding! Discard half of your starter, but save 100 g. Then, add 100 g of all-purpose flour and 100 g of room-temperature water to the remaining starter. Mix it thoroughly again, scrape down those sides, cover loosely, and let it rest for another 24 hours.
Step 5: Continue Feeding
Repeat the same process for several days. Each day, discard everything but 100 g of the starter and feed it with 100 g each of all-purpose flour and water. Make sure to give it a good stir each time! Soon, your starter will begin rising significantly and develop a bubbly texture.
Step 6: Testing Maturity
After about 5 to 7 days, it’s testing time! To check if your starter is ready, drop a spoonful of it into a bowl of water. If it floats, congratulation! It’s mature and ready for baking. If it sinks, just keep feeding until it shows more active signs. Don’t lose hope; the waiting game is worth it!
Step 7: Maintenance for Daily or Weekly Use
If you plan to bake regularly, keep your starter at room temperature. Feed it every day to maintain that lively, bubbly goodness. On the other hand, if you bake less often, simply refrigerate the starter. Refresh it weekly — discard, feed, and let it rest at room temperature for a couple of hours before returning it to the fridge.
Tips for Success
- Keep a consistent feeding schedule for a strong and active starter.
- Monitor room temperature; too cold slows fermentation, while too warm can rush it.
- Use organic ingredients for optimal flavor and health benefits.
- Keep your jar covered loosely to allow airflow while preventing unwanted contaminants.
- Don’t rush the process; good things take time, especially with fermentation!
Equipment Needed
- Glass Jar: A quart-sized glass jar is ideal. You can also use a clean plastic container if glass isn’t available.
- Digital Scale: For precise measurements, a digital kitchen scale is your best friend. A measuring cup works too but isn’t as accurate.
- Mixing Spoon: Any sturdy spoon will do, but a silicone spatula makes mixing a breeze.
- Cloth or Lid: A cloth allows for airflow, while a loose lid keeps everything contained.
Variations
- Flavored Starters: Experiment by adding spices like cinnamon or cardamom during the mixing process for a unique twist.
- Gluten-Free Option: Replace the whole grain flour with a blend of gluten-free flours, such as brown rice and almond flour, for a suitable alternative.
- Herb-Infused Starter: Incorporate dried herbs like rosemary or thyme to add a savory aroma to your baked goods.
- Sourdough Pancake Base: Use your active sourdough starter for making delicious pancakes by simply combining it with eggs, milk, and a touch of baking soda.
- Adding Seeds: Mix in a tablespoon of chia or flaxseeds for additional texture and nutrition.
Serving Suggestions
- Pair your homemade sourdough bread with creamy avocado for a delicious breakfast.
- Serve alongside a hearty soup, like tomato basil or lentil, for a comforting meal.
- Enjoy slices with a variety of artisanal cheeses for an indulgent snack.
- Presentation tip: Add fresh herbs like rosemary or thyme on the side for a rustic touch.
FAQs about Sourdough Starter Whole Grain
What’s the difference between whole grain and all-purpose flour in sourdough starter?
Whole grain flour, like whole wheat or rye, is high in nutrients and gives your sourdough starter a robust flavor. All-purpose flour acts as a food source during feeding, helping balance out nutrition and support fermentation. Together, they create a harmonious starter.
How long does it take for a sourdough starter to become active?
Your sourdough starter can take anywhere from 5 to 7 days to mature fully. Remember, patience is key! Keep feeding it daily and look for that bubbly, frothy texture to know it’s ready!
Can I use tap water for my sourdough starter?
While you technically can, it’s best to use filtered or spring water. Tap water can contain chemicals like chlorine that might inhibit your sourdough starter’s growth. Always opt for room temperature water for optimal fermentation.
What if my starter doesn’t rise?
If your starter isn’t rising, don’t fret! It may need more time or warmer temperatures. Make sure you’re feeding it consistently and check that it’s covered loosely to allow airflow. Sometimes, it just takes a bit longer for those wild yeasts to kick in.
How can I tell my sourdough starter is ready to bake with?
You can test its readiness by dropping a spoonful into a bowl of water. If it floats, congratulations! Your starter is ready for baking. If it sinks, keep feeding it until it shows those active bubbles!
Final Thoughts
Creating your own sourdough starter whole grain is more than just a baking task; it’s a delightful journey into the world of fermentation. Each day brings a new discovery as you nurture your starter from a simple mixture into a bubbly powerhouse of flavor. The joy of crafting your own loaves, filled with the warm essence of home, is unparalleled. Imagine sharing that first slice with your loved ones, savoring the crunchy crust and tangy crumb. This recipe not only yields delicious bread but also fosters connections—through baking, sharing, and enjoying the fruits of your labor together.