
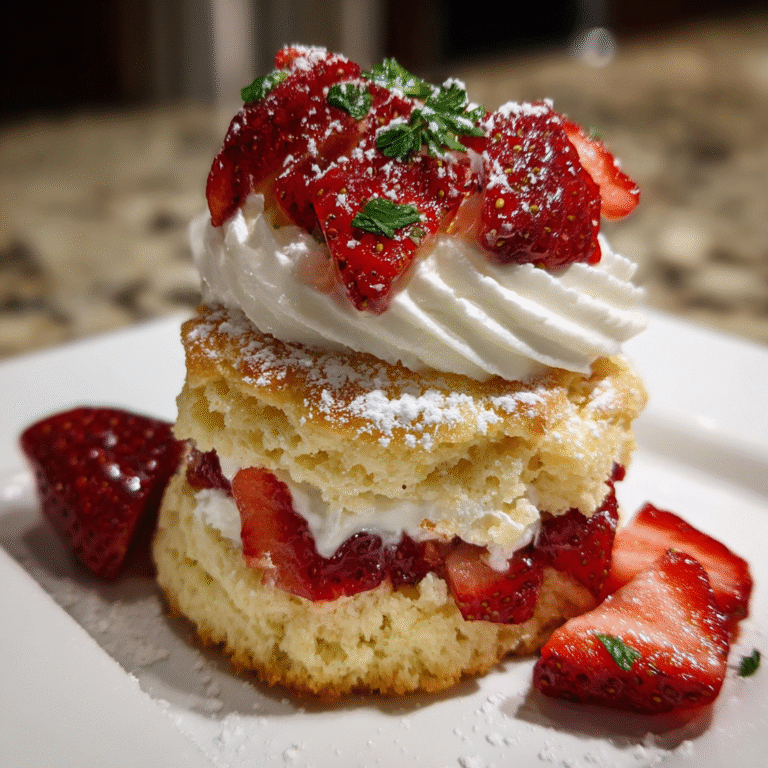
Introduction to Strawberry Shortcake Bites Recipe
Hey there, fellow dessert enthusiasts! If you’re looking for a sweet treat that brings smiles and cheers, you’ve stumbled upon the perfect recipe. Let me introduce you to my Strawberry Shortcake Bites Recipe. It’s an easy, delightful dessert that’s ideal for busy days when you want to whip up something special without spending hours in the kitchen. These bite-sized wonders are perfect for impressing friends or treating your family. They carry all the classic flavors of strawberry shortcake but in delightful, handheld bites. Trust me, your taste buds are going to thank you!
Why You’ll Love This Strawberry Shortcake Bites Recipe
Life is busy, I get it! That’s why this Strawberry Shortcake Bites Recipe is a total game-changer. Not only are these treats incredibly easy to make, but they also come together in just under 30 minutes. Each bite bursts with a delightful strawberry flavor, paired with a fluffy, buttery shortcake. Whether for a quick dessert or a lovely gathering, these bites make everyone feel special without putting stress on your day!
Ingredients for Strawberry Shortcake Bites Recipe
Ready to dive into the fun part? Here’s what you’ll need to create these heavenly Strawberry Shortcake Bites!
- All-purpose flour: This is the backbone of your bites, giving them that lovely structure and texture.
- Granulated sugar: Just enough sweetness to balance out the strawberries and enhance the buttery flavor.
- Baking powder: A little lift for your bites, ensuring they rise beautifully in the oven.
- Salt: It’s like the magic dust that enhances all the other flavors.
- Cold unsalted butter: Make sure it’s cold for that flaky texture! It lends richness and moisture.
- Heavy cream: This brings a luxurious texture to the dough and makes every bite extra special.
- Vanilla extract: A dash of vanilla adds warmth and depth, making the flavors dance.
- Diced fresh strawberries: The stars of the show! Their juicy sweetness makes each bite refreshing.
- Powdered sugar: Optional, but it’s great for dusting on top for that perfect, picturesque finish.
- Whipped cream or frosting: Top these bites as you like! They can elevate your dessert to new heights.
All of these ingredients blend harmoniously to create a bite-sized joy. If you’re curious about exact measurements, don’t worry! You’ll find them at the bottom of the article—all set for printing. Now, roll up your sleeves and let’s get to baking!
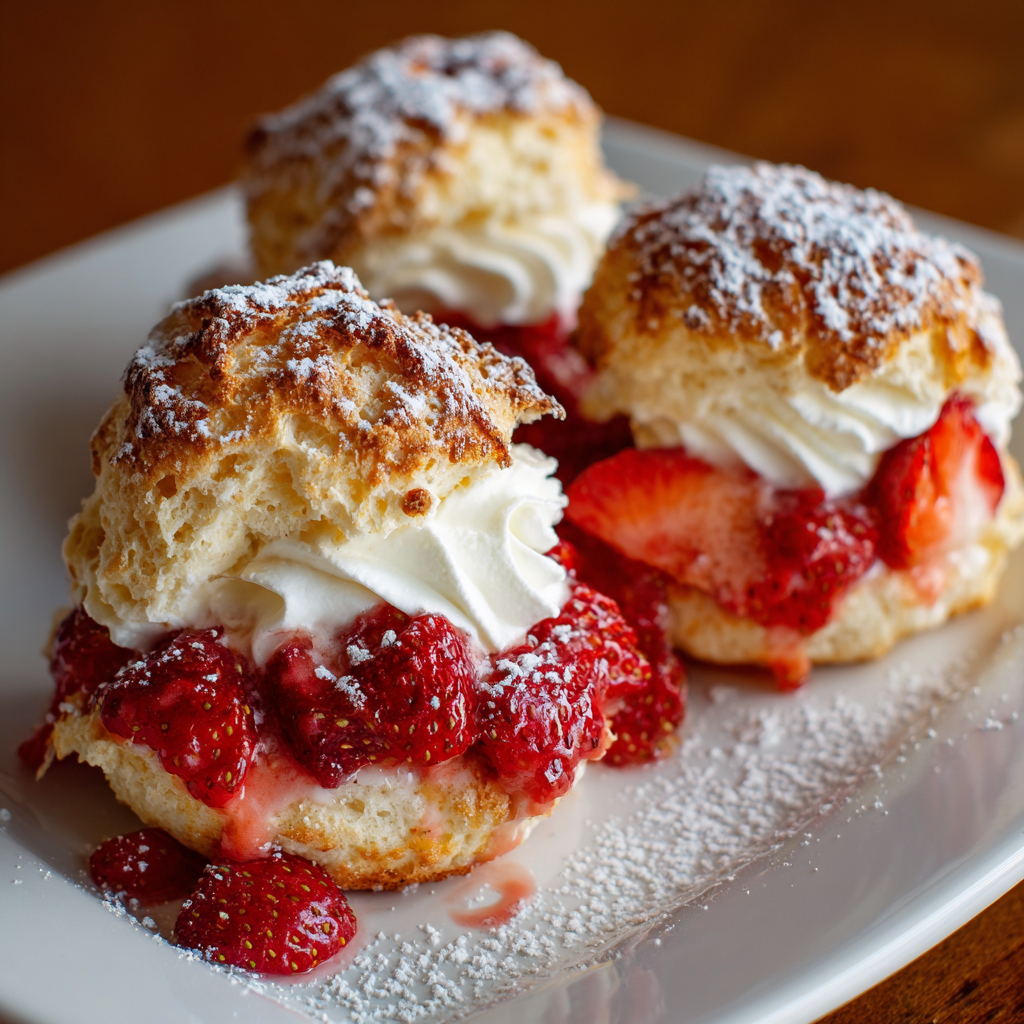
How to Make Strawberry Shortcake Bites Recipe
Now that you’ve gathered all your ingredients, it’s time to dive into the baking adventure! Follow along as I guide you through the steps to create these delightful Strawberry Shortcake Bites. Each step is simple, ensuring you can enjoy this treat even on a busy day.
Step 1: Preheat the Oven
First things first, let’s get our oven awake and ready. Preheating it to 400°F (200°C) is essential for a perfectly baked bite. A hot oven is crucial for the right texture. While it heats up, line a baking sheet with parchment paper. This little trick prevents sticking and makes cleanup a breeze.
Step 2: Prepare the Dough
Now onto the fun part—the dough! In a large mixing bowl, combine the all-purpose flour, sugar, baking powder, and salt. Whisk them together until they’re well-mixed. Next, here comes the secret weapon: the cold unsalted butter. Cut it into the mixture until it resembles coarse crumbs. Mixing in the butter this way will give your bites a lovely flaky texture.
Once your dry mix looks good, let’s add the wet ingredients! Pour in the heavy cream and sprinkle in the vanilla extract. Mix gently until just combined. The key here is to avoid over-mixing. You want a dough that’s slightly sticky, not too dry. When that’s done, fold in those luscious diced strawberries, and voilà! Your dough is ready.
Step 3: Shape and Bake
With the dough made, it’s time to turn it into bites! Scoop tablespoon-sized amounts and roll them into little balls. Place your dough balls on the parchment-lined baking sheet, ensuring a bit of space between them. You don’t want them to crowd each other while baking.
Next, brush the tops with a little extra heavy cream—this gives them a golden color. Pop them in the preheated oven and bake for about 12–14 minutes. Keep an eye on them! They should be golden brown and smell divine. To check for doneness, look for a golden hue, and a toothpick should come out clean if inserted in the center.
Step 4: Serve and Enjoy
Your kitchen is about to smell heavenly! Once out of the oven, allow the bites to cool for a few minutes. Dust with powdered sugar for a charming finish, or go wild and top them with whipped cream. For an added treat, consider drizzling some strawberry jam or a white chocolate sauce over them. These bites are perfect for sharing, or you might just want to keep them all to yourself!
Tips for Success
- Use cold butter! It’s key for flakiness.
- Don’t over-mix when adding wet ingredients. A light touch is all you need.
- For extra flavor, macerate your strawberries in sugar for 15 minutes before adding to the dough.
- Keep an eye on the baking time; every oven is unique.
- Serve them warm for the best experience!
Equipment Needed
- Mixing bowl: Essential for combining your ingredients. A large bowl works best, but any bowl will do.
- Whisk or fork: For mixing dry ingredients; a fork can work just as well.
- Baking sheet: Line with parchment paper; an aluminum foil will also do the trick!
- Cookie scoop or tablespoon: Perfect for portioning out the dough. A spoon can serve just fine too!
- Cooling rack: Great for letting your bites cool off; a plate works in a pinch.
Variations
- Whole Wheat Flour: Swap out all-purpose flour for whole wheat flour for a nuttier flavor and added fiber.
- Gluten-Free Option: Use a gluten-free baking blend to make these bites suitable for those with gluten sensitivities.
- Chocolate Chip Delight: Toss in semi-sweet chocolate chips or white chocolate chunks for an extra indulgent twist.
- Minty Fresh: Add a teaspoon of finely chopped fresh mint to the dough for a refreshing flavor that pairs beautifully with strawberries.
- Vegan Version: Substitute butter with vegan butter and use a plant-based milk instead of heavy cream.
- Different Berries: Experiment with other berries like blueberries or raspberries for a berry medley treat!
Serving Suggestions
- Pair your Strawberry Shortcake Bites with a scoop of vanilla ice cream for a creamy contrast.
- Serve alongside a fresh fruit salad to balance out the sweetness.
- For a delightful beverage, consider iced tea or sparkling lemonade.
- Present them on a tiered cake stand for an eye-catching display!
FAQs about Strawberry Shortcake Bites Recipe
Got questions? I’ve got answers! Let’s tackle some of the most common queries about this delightful Strawberry Shortcake Bites Recipe.
Can I use frozen strawberries instead of fresh? Absolutely! If fresh strawberries are out of season, frozen strawberries can work too. Just make sure to thaw and drain them to avoid excess moisture in the dough.
How do I store leftover bites? If you have any bites left—though I doubt it!—store them in an airtight container at room temperature for up to two days. For longer storage, keep them in the fridge for up to a week.
Can I make the dough ahead of time? You can certainly prepare the dough ahead of time. Just cover it tightly and refrigerate for up to 24 hours. When ready to bake, let it sit at room temperature for about 10 minutes, then shape and bake as usual.
How can I make these bites healthier? Great question! You can replace some of the all-purpose flour with whole wheat flour or almond flour. Additionally, reduce the sugar a bit without sacrificing flavor.
Are Strawberry Shortcake Bites suitable for kids? Yes, these bites are perfect for kids! They’re bite-sized, tasty, and absolutely fun to eat. Plus, you can involve the little ones in the making process—always a bonus!
Final Thoughts
As I reflect on my culinary journey with the Strawberry Shortcake Bites Recipe, I can’t help but smile. These delightful little treats not only bring the joy of fresh strawberries and fluffy cake but also create moments of shared happiness. Whether enjoyed at a family gathering or as a sweet treat after a busy day, they’re the perfect way to make anyone feel cherished. Plus, the thrill of seeing faces light up with every bite is truly priceless! So grab your ingredients and make some memories in the kitchen. Trust me, you’ll be glad you did!