
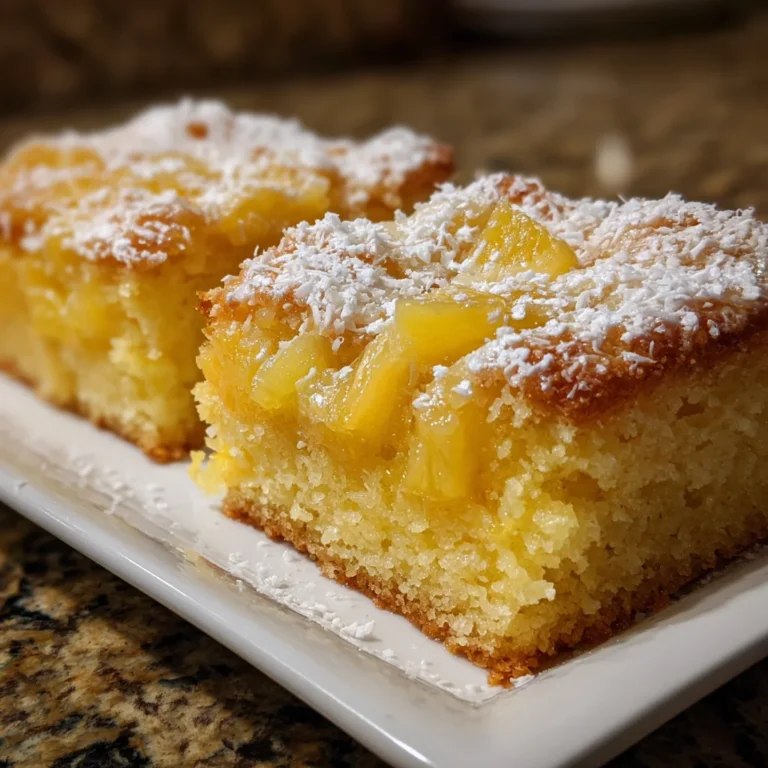
Introduction to Hawaiian Pineapple Cake
Have you ever craved a slice of sunshine on a rainy day? Let me introduce you to Hawaiian Pineapple Cake—a tropical delight that bursts with the flavorful essence of pineapple and coconut. This cake is perfect for busy moms and professionals, serving up a mini-vacation in every bite. It’s a crowd-pleaser at family gatherings or simply a sweet way to indulge after a hectic day. Not only is this cake easy to make, but it’ll transport you straight to a Hawaiian beach, even if you’re just at home in your kitchen.
Why You’ll Love This Hawaiian Pineapple Cake
This Hawaiian Pineapple Cake is a dream come true for anyone who juggles a busy schedule. It comes together quickly, and the ingredients are likely already in your pantry. You’ll adore how the sweet pineapple balances the rich cream cheese frosting. Plus, this cake is incredibly forgiving; even the most inexperienced bakers can’t mess it up. You’ll savor every bite without spending hours in the kitchen—talk about a win!
Ingredients for Hawaiian Pineapple Cake
Gathering the right ingredients is the first step to success with your Hawaiian Pineapple Cake. You’ll find that many of these items are simple staples. Here’s what you’ll need:
- All-purpose flour: This is the base of our cake. It gives it the necessary structure.
- Granulated sugar: Sweetness is key. This will give the cake its delightful flavor.
- Baking soda: It’s our leavening agent. This helps the cake rise and become fluffy.
- Salt: A touch of salt enhances the sweetness and balances flavors beautifully.
- Large eggs: These provide moisture and binding, making the cake rich and tender.
- Crushed pineapple: This is where the magic begins! The pineapple adds flavor and moisture to the cake.
- Vanilla extract: A must-have for a warm, comforting taste that complements the fruit.
- Shredded coconut (optional): If you love coconut, this is the perfect addition. It gives texture and a tropical touch.
- For the frosting:
- Cream cheese: The star of the frosting, offering a creamy and tangy flavor.
- Unsalted butter: Ensures richness in the frosting without the extra saltiness.
- Powdered sugar: This sweetens the frosting and helps achieve that lovely, spreadable consistency.
- More vanilla extract: A little goes a long way in enhancing the frosting’s flavor.
- Crushed pineapple (drained): This adds moisture and a boost of pineapple goodness to the frosting.
You can find the precise measurements for all these ingredients at the bottom of the article, available for easy printing. Happy baking!
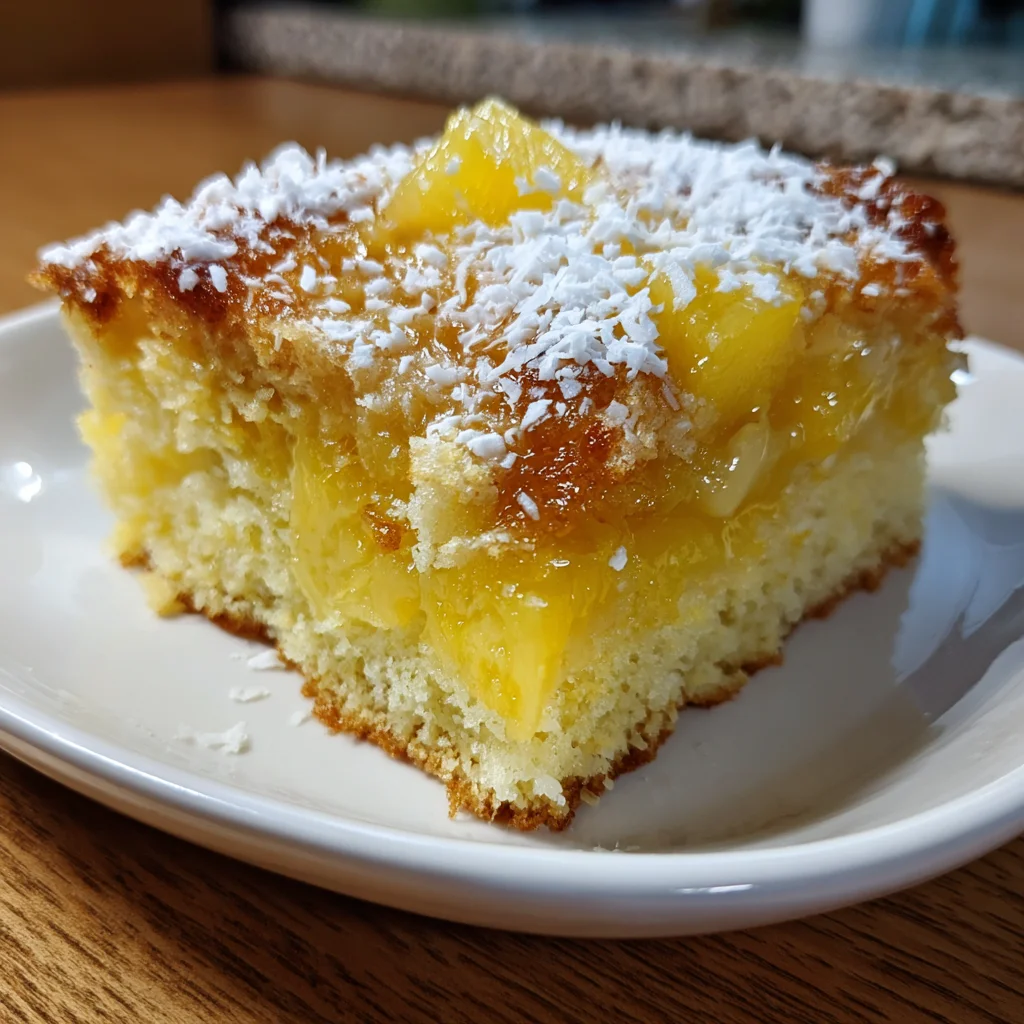
How to Make Hawaiian Pineapple Cake
Making Hawaiian Pineapple Cake is like a culinary vacation right in your kitchen! The process is straightforward, perfect for busy lives. Let’s dive into the delicious steps!
Step 1: Prepare Your Oven and Pan
First things first, preheat your oven to 350°F (175°C). This step ensures your cake rises beautifully.
While the oven warms up, grab a 9×13-inch baking pan and grease it well with a bit of butter or cooking spray. This prevents sticking and helps with easy removal later. Take your time here; it’s important!
Step 2: Mix Dry Ingredients
In a large mixing bowl, combine two cups of all-purpose flour, two cups of granulated sugar, one teaspoon of baking soda, and a quarter teaspoon of salt. Whisk them together until everything is well blended. This mix is the backbone of your Hawaiian Pineapple Cake, ensuring that perfect texture!
Step 3: Incorporate Wet Ingredients
Next, it’s time to add some tropical flair! Crack in two large eggs, then add the star ingredient: one 20 oz can of crushed pineapple with its juice. Don’t forget one teaspoon of vanilla extract for that comforting aroma. Mix until just combined—don’t overdo it; a few lumps are just fine!
Step 4: Fold in Coconut
If you’re a coconut lover like me, now’s the moment to shine! Gently fold in half a cup of unsweetened shredded coconut. This is optional but adds a delightful texture. Use a rubber spatula to mix carefully; you don’t want to deflate that fluffy batter!
Step 5: Bake the Cake
Pour your batter into the prepared pan, spreading it out evenly. Slide it into your preheated oven and bake for 35 to 40 minutes. The aroma of pineapple will fill your kitchen; it’s heavenly! Check for doneness by inserting a toothpick in the center; if it comes out clean, you’re golden!
Step 6: Prepare the Frosting
Once your cake cools completely (trust me, this is vital!), move on to the frosting. In a mixing bowl, beat together one 8 oz package of softened cream cheese and half a cup of unsalted butter until smooth and creamy. Gradually add in two cups of powdered sugar, one teaspoon of vanilla extract, and half a cup of drained crushed pineapple. Mix until everything is smooth and luscious!
Step 7: Frost the Cake
Now it’s fun time! Take a spatula and frost the cooled cake generously with your creamy pineapple frosting. Don’t be shy; the more, the merrier! You can sprinkle some extra shredded coconut on top if you desire that extra tropical touch.
Step 8: Chill Before Serving
This step is crucial for the best taste! Refrigerate your frosted cake for at least 30 minutes before slicing into it. Allowing it to chill enhances the flavors and makes serving easier. Trust me, this is where the magic happens!
Tips for Success
- Use room temperature ingredients for a smoother batter.
- Don’t skip the chilling step; it really enhances the flavors!
- For a moist cake, avoid overmixing once you add wet ingredients.
- Make sure to grease your pan well to avoid sticking.
- Feel free to customize with nuts or dried fruits for extra texture.
Equipment Needed
- Baking Pan: A 9×13-inch pan is perfect. Alternatively, you can use two 9-inch round pans.
- Mixing Bowls: Use large mixing bowls—glass or stainless steel work well.
- Whisk: A balloon whisk or fork will do for mixing dry ingredients.
- Spatula: A rubber spatula is great for folding and spreading frosting.
- Toothpick: This is essential for testing the cake doneness.
Variations of Hawaiian Pineapple Cake
- Gluten-Free Version: Substitute all-purpose flour with a gluten-free blend. Just ensure it measures cup for cup like regular flour.
- Vegan Option: Use flax eggs instead of regular eggs and swap the cream cheese with a vegan cream cheese alternative for frosting.
- Banana-Pineapple Fusion: Add one mashed ripe banana to the batter for extra moisture and flavor!
- Chocolate Drizzle: Drizzle melted dark chocolate over the frosted cake for a decadent twist that pairs well with the tropical flavors.
- Mini Cupcakes: Turn this recipe into mini cupcakes! Bake for about 20-25 minutes and frost them for a delightful bite-sized treat.
Serving Suggestions
- Fresh Fruit Salad: Consider serving it alongside a refreshing fruit salad—think berries, bananas, and, of course, extra pineapple!
- Iced Tea or Lemonade: Pair with a glass of iced tea or homemade lemonade for a delightful summer vibe.
- Presentation: Garnish with mint leaves and a sprinkle of shredded coconut for a visually stunning presentation.
- Vanilla Ice Cream: Serve slices warm with a scoop of vanilla ice cream for the ultimate treat!
FAQs about Hawaiian Pineapple Cake
Can I use fresh pineapple instead of canned?
Absolutely! Fresh pineapple adds a vibrant taste. Just make sure to finely chop it and measure it out correctly to maintain the right texture.
How do I store leftover Hawaiian Pineapple Cake?
Store it in an airtight container in the refrigerator. It stays fresh for about 3 to 4 days, but let’s be honest, it’s usually gone long before that!
Can I freeze Hawaiian Pineapple Cake?
Yes, you can freeze the cake for up to three months. Just be sure to freeze it unfrosted to maintain the best flavor and texture.
What can I use if I don’t have cream cheese for the frosting?
You can substitute with mascarpone for a rich flavor or even use whipped cream for a lighter option. Just know, it’ll change the frosting’s texture a bit!
Is Hawaiian Pineapple Cake suitable for special dietary needs?
Definitely! You can easily make gluten-free, vegan, or low-sugar varieties with simple ingredient swaps, ensuring everyone can enjoy this tropical joy!
Final Thoughts
Baking this Hawaiian Pineapple Cake is more than just about satisfying a sweet tooth; it’s about creating moments of joy. Each slice is a little piece of the tropics, perfect for brightening up any day. Whether you’re celebrating a family gathering or simply treating yourself, this cake brings smiles and warmth to the table. I love how it reminds me that no matter how busy life gets, taking a moment for something sweet can transform an ordinary day. So grab your apron, embrace the tropical flavors, and enjoy every delicious bite—you deserve it!