
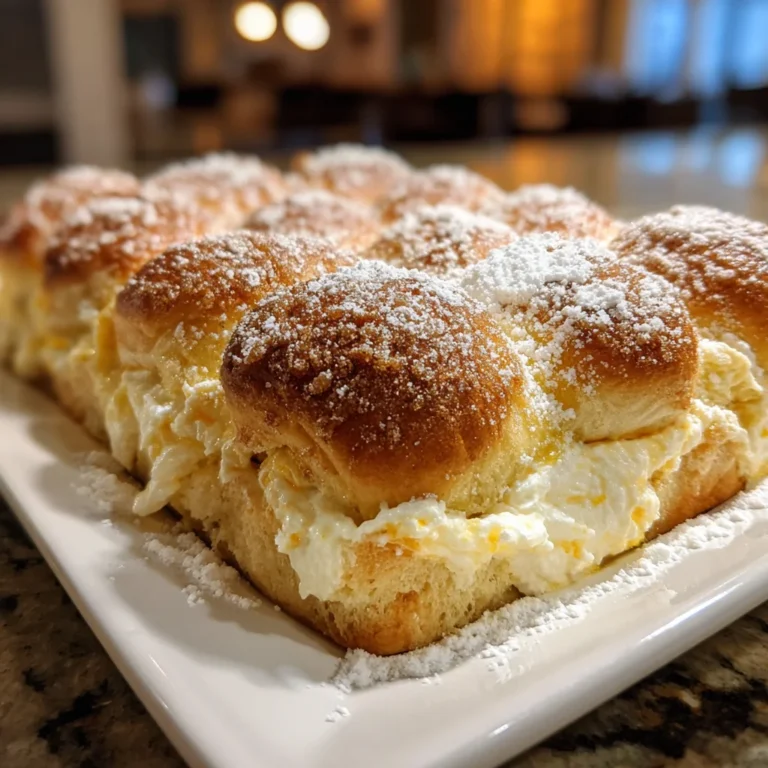
Introduction to Cheesecake Crescent Rolls Casserole
As a busy mom, finding time to whip up a delightful dessert can feel overwhelming. Enter the Cheesecake Crescent Rolls Casserole! This recipe is a true game-changer for hectic weekdays and lazy weekend brunches. It marries the rich, creamy textures of cheesecake with the flaky goodness of crescent rolls. If you’re looking for a way to impress your family or friends without spending hours in the kitchen, this is it! It’s simple, delicious, and just screams comfort food, making it the perfect treat for both special occasions and everyday joy.
Why You’ll Love This Cheesecake Crescent Rolls Casserole
This Cheesecake Crescent Rolls Casserole is all about simplicity and satisfaction. With minimal preparation time, you can serve up a dessert that feels fancy, yet is incredibly easy to make. The flaky, buttery dough pairs perfectly with the creamy filling, creating a delightful harmony of flavors with every bite. Plus, it bakes up golden and inviting, making it a feast for the eyes as well as the palate. Enjoy the “oohs” and “aahs” without the stress!
Ingredients for Cheesecake Crescent Rolls Casserole
Gathering your ingredients for this delightful recipe is half the fun! Here’s what you’ll need to create the heavenly Cheesecake Crescent Rolls Casserole:
- Refrigerated crescent roll dough: Flaky and buttery, this ready-to-use dough provides the perfect base and topping for our casserole. You need two cans to envelop that creamy filling.
- Cream cheese: The heart of this dish! Softened cream cheese gives the casserole its rich and creamy texture. For a lighter option, you can choose reduced-fat cream cheese.
- Granulated sugar: Sweetness is key in balancing the creamy filling. It helps create that luscious taste you expect from cheesecake.
- Vanilla extract: This aromatic addition wakes up the flavors in your cream cheese mixture. Make sure to use pure vanilla extract for the best flavor.
- Unsalted butter: Melted butter brushed on top adds a delightful richness to the finished dish and helps the crust get that perfect golden hue. Unsalted is best to control the overall saltiness.
- Ground cinnamon: A sprinkle of cinnamon offers a warm, cozy aroma and flavor, making your casserole taste like a hug in dessert form.
- Additional granulated sugar: Used for the cinnamon-sugar topping, a spoonful adds just the right amount of sweetness to the crust.
Don’t forget, for exact quantities of these ingredients, head to the bottom of the article where you’ll find them available for printing. Happy baking!
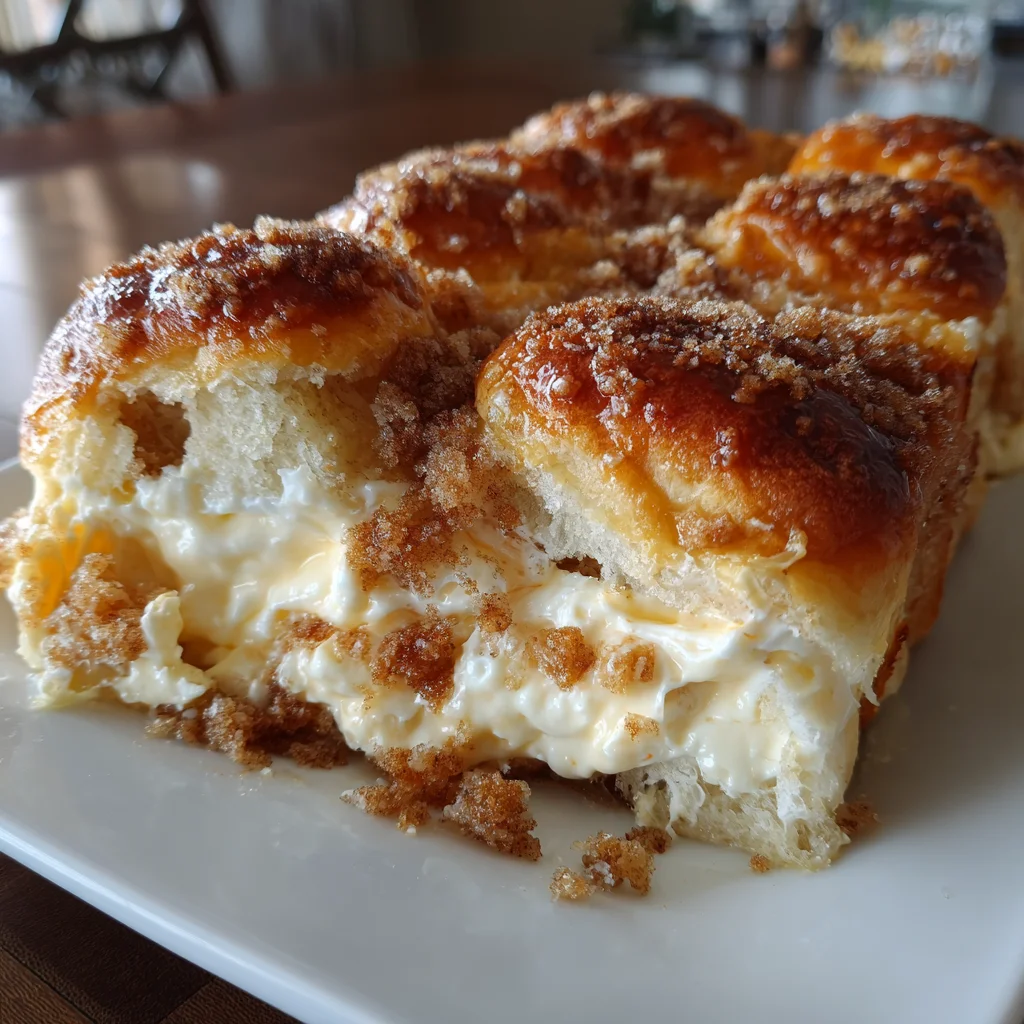
How to Make Cheesecake Crescent Rolls Casserole
Step 1: Preheat and Prepare
First, preheat your oven to 350°F (175°C). While that’s warming up, grab a 9×13-inch baking dish and lightly grease it with cooking spray or butter. This ensures your casserole won’t stick and will come out beautifully!
Step 2: First Layer of Dough
Unroll one can of crescent roll dough, being careful not to tear it. Press it evenly into the bottom of your prepared baking dish. Don’t forget to pinch the seams to seal them well. You want a nice, smooth layer to hold all that creamy goodness!
Step 3: Prepare the Cream Cheese Mixture
In a large mixing bowl, combine the softened cream cheese, granulated sugar, and vanilla extract. Beat the mixture until it’s incredibly smooth and creamy. This sweet filling is what makes the cheesecake flavor shine through!
Step 4: Spread Cream Cheese Mixture
Now, evenly spread that luscious cream cheese mixture over the first layer of dough. Make sure to cover every inch so each bite is packed with that delightful cheesecake flavor!
Step 5: Second Layer of Dough
Unroll the second can of crescent roll dough. Lay it carefully over the cream cheese mixture, pinching the seams together. This top layer is what creates a yummy crust, so make sure it’s all tucked in nicely!
Step 6: Add Butter and Cinnamon Sugar
Next, brush the melted butter generously over the top layer of dough. This adds richness and helps achieve that golden-brown crust. Then, sprinkle the cinnamon-sugar mixture evenly across the top for a sweet and spicy crunch.
Step 7: Bake and Cool
Place your casserole in the preheated oven and bake for about 30 minutes, or until the top is golden brown. Once it’s out of the oven, let it cool for at least 20 minutes before slicing. This waiting game will be well worth it!
Tips for Success
- Ensure your cream cheese is at room temperature for easy mixing and a smooth texture.
- Don’t rush the cooling time! This helps the casserole firm up for clean slices.
- Use a sharp knife to cut your casserole into squares for neat portions.
- Experiment with toppings! A drizzle of caramel sauce or fresh berries adds a lovely twist.
- Store leftovers in an airtight container in the fridge to keep them fresh.
Equipment Needed
- 9×13-inch baking dish: If you don’t have this size, a similarly sized casserole dish will work.
- Mixing bowl: Any large bowl will do for mixing the cream cheese filling.
- Electric mixer: A hand mixer makes it easier, but a whisk works fine too!
- Measuring cups and spoons: Essential for accurate ingredient measurement.
- Spatula: Use for spreading and serving the casserole smoothly.
Variations for Cheesecake Crescent Rolls Casserole
- Fruit-Filled Delight: Add some fresh or canned fruit like blueberries, strawberries, or peaches between the layers. This not only adds flavor but also a burst of color!
- Chocolate Lover’s Twist: Mix in 1/2 cup of chocolate chips into the cream cheese mixture for a decadent chocolate cheesecake version. You won’t regret it!
- Nutty Flavor: Fold in chopped nuts such as pecans or walnuts into the cream cheese filling for an added crunch. Just be sure no one has nut allergies!
- Gluten-Free Option: Use gluten-free crescent roll dough to make this casserole suitable for gluten-sensitive diners.
- Spiced Variations: For a warm autumn touch, add a pinch of nutmeg or pumpkin spice to the cream cheese mixture for a fall-inspired flavor.
Serving Suggestions
- Pair with a dollop of whipped cream on top for extra indulgence.
- Serve alongside fresh fruit salad to balance out the richness.
- Consider a drizzle of chocolate sauce or caramel for a delightful presentation.
- Accompany with a cup of hot coffee or tea for a cozy touch.
- Presentation is key! Serve in colorful dishes to brighten up the table.
FAQs about Cheesecake Crescent Rolls Casserole
As I share this delightful recipe, I know many questions may pop into your mind. Here are some frequently asked questions about the Cheesecake Crescent Rolls Casserole, along with answers to help you enjoy this dessert to the fullest!
Can I make Cheesecake Crescent Rolls Casserole ahead of time?
Absolutely! You can prepare the casserole a day in advance, cover it tightly, and refrigerate before baking. Just be sure to let it sit at room temperature for about 15-20 minutes before you pop it in the oven. It’s perfect for stress-free entertaining!
Can I freeze leftovers of the casserole?
Yes, you can! After the casserole cools completely, wrap it tightly in plastic wrap and then foil. It will keep well in the freezer for up to three months. Just thaw it overnight in the fridge before reheating.
How do I reheat Cheesecake Crescent Rolls Casserole?
To reheat, simply place your desired portions in a microwave-safe dish and heat for about 30 seconds to a minute, or until warmed through. You can also place it in a 350°F oven for about 10-15 minutes if you prefer a crispy crust.
What can I substitute for cream cheese?
If you’re looking for substitutes, mascarpone cheese or ricotta cheese can work in a pinch. They will alter the flavor slightly, but you’ll still get that creamy texture we all love!
Is this casserole a good option for brunch?
Definitely! The Cheesecake Crescent Rolls Casserole is not only easy to make, but it also looks stunning on a brunch table. It’s sweet enough to satisfy, yet light enough to pair with savory dishes. Trust me, your guests will be raving about it!
Final Thoughts
The Cheesecake Crescent Rolls Casserole is more than just a dessert; it’s a slice of joy wrapped in flaky goodness. Picture the smiles on your family’s faces as they dig into this warm, creamy treat. Whether it’s a special gathering or a cozy night in, this casserole brings a sense of celebration to the table every time. It’s manageable yet impressive, allowing busy moms like us to savor the happiness of homemade goodness. So, gather your loved ones, slice up this delightful casserole, and make memories that will last long after the last bite!