
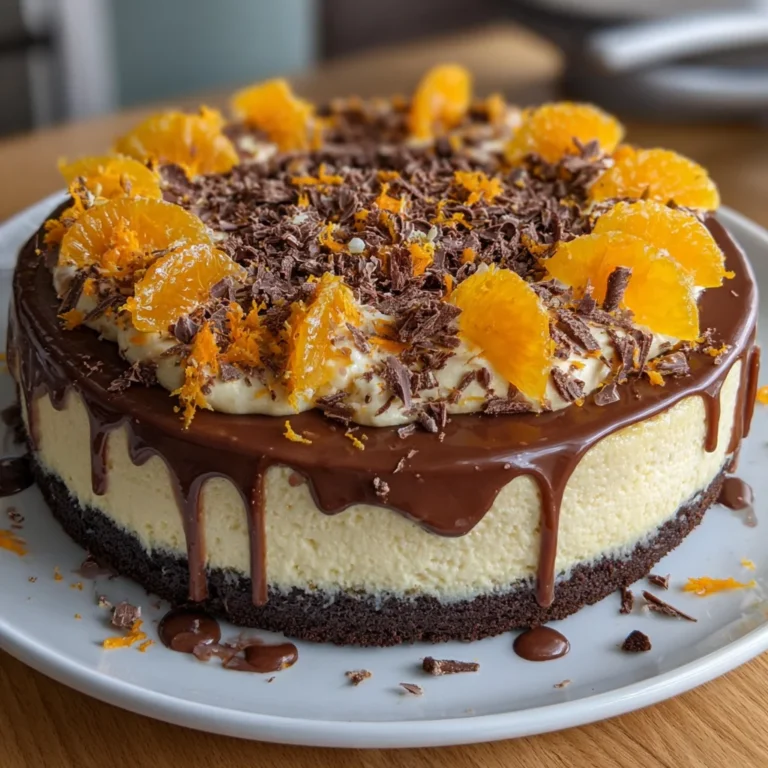
Introduction to Chocolate Orange Cheesecake
Have you ever craved a dessert that feels indulgent yet comforting? Well, let me introduce you to the delightful world of Chocolate Orange Cheesecake. This creamy, rich masterpiece combines the deep, decadent flavor of dark chocolate with the bright zing of fresh orange. It’s a crowd-pleaser that’s perfect for busy moms like me, who want to whip up something delicious without spending all day in the kitchen. Whether it’s a festive gathering or a cozy family dinner, this cheesecake is sure to impress your loved ones while offering a little sweet escape from your daily hustle.
Why You’ll Love This Chocolate Orange Cheesecake
This Chocolate Orange Cheesecake is a dream come true for anyone short on time but big on flavor. With its easy preparation and minimal baking time, it’s perfect for busy days. The lush chocolate pairs beautifully with the tangy orange, creating a taste sensation that’s truly irresistible. Plus, it’s a showstopper for gatherings, bringing smiles and compliments that will make you feel like a culinary superstar without the stress!
Ingredients for Chocolate Orange Cheesecake
Gathering the right ingredients can turn a simple dessert into a spectacular experience. Here’s what you’ll need to create your Chocolate Orange Cheesecake:
- Chocolate Digestive Biscuits: These provide a delightful crunch and a rich chocolatey base.
- Unsalted Butter: The melted butter binds the biscuits together, giving them a creamy texture.
- Cream Cheese: This is the star of our cheesecake—it adds creaminess and helps achieve that luscious consistency.
- Granulated Sugar: Sweetens the filling; you can also experiment with less sugar or a sugar substitute for a healthier version.
- Sour Cream: This adds a tangy richness that balances the sweetness and enhances the creaminess.
- Dark Chocolate: Choose high-quality dark chocolate for a deep flavor; cocoa solids make this dessert irresistible.
- Orange Zest: Grated zest from fresh oranges pumps up the flavor with citrusy brightness.
- Orange Juice: Freshly squeezed for those lovely fruity notes and a hint of acidity that cuts through the richness.
- Eggs: They provide structure and help the cheesecake set properly.
- Vanilla Extract: A dash of vanilla enhances the overall flavor, making it more comforting and familiar.
- Chocolate for Ganache: A second helping of dark chocolate creates a glossy topping that adds a luxurious finish.
- Heavy Cream: Used in the ganache, it helps create a smooth, pourable chocolate layer that’s simply divine.
- Orange Segments: Great for garnish, they bring a pop of color and freshness when you’re ready to serve.
- Chocolate Shavings: Optional, but they’re a lovely decorative touch that elevates presentation and adds an extra layer of chocolatey goodness.
You can find the exact quantities for all ingredients at the bottom of the article, ready for printing. Happy cooking!
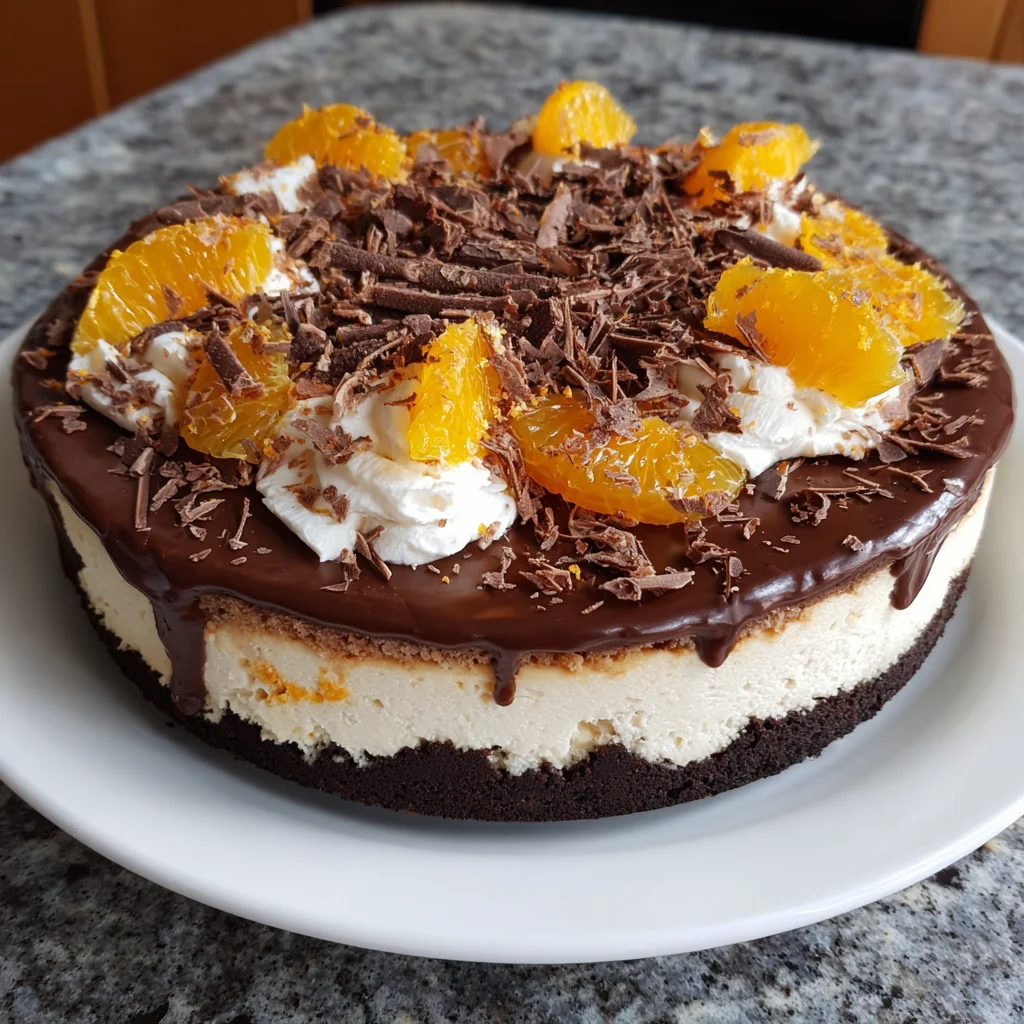
How to Make Chocolate Orange Cheesecake
Let’s dive into the step-by-step process of creating your own Chocolate Orange Cheesecake. This will be a fun culinary adventure, where each step brings you closer to that creamy, decadent delight!
Preparing the Crust
Mixing the Ingredients
First, grab your chocolate digestive biscuits. Place them in a food processor and pulse until they turn into fine crumbs. If you don’t have a processor, you can seal them in a plastic bag and crush them with a rolling pin. Next, melt your unsalted butter in the microwave or a saucepan. In a mixing bowl, combine the biscuit crumbs with the melted butter until they’re well coated. It should look like damp sand.
Baking the Crust
Cooling the Base
Now, press this mixture firmly into the bottom of a 9-inch springform pan. Make sure it’s even; this creates a stable base for your cheesecake. Preheat your oven to 350°F (180°C) and bake the crust for about 10 minutes. After baking, remove it from the oven and set it aside to cool completely. Letting it cool prevents any sogginess when you add the filling.
Making the Cheesecake Filling
Creaming the Cheese
In a large mixing bowl, beat your cream cheese until it’s smooth and creamy. I usually use a hand mixer for ease, but a whisk will do, too—though that takes a bit more muscle! Gradually add in the granulated sugar, mixing until fully incorporated. This step is crucial; you want the mixture to be light and fluffy—no lumps, please!
Incorporating Flavors
Mixing in Chocolate and Orange
Once your cream cheese and sugar are well blended, it’s time to add some magic! Pour in the melted dark chocolate, sour cream, orange zest, orange juice, and vanilla extract. Mix until the colors merge into a rich, chocolatey batter. Don’t forget to scrape the sides of the bowl for even mixing. Then, add the eggs one at a time, folding them in gently so that the mixture stays light—no overmixing here!
Baking the Cheesecake
Perfectly Setting the Cheesecake
Pour the cheesecake filling over the cooled crust in your springform pan. Spread it out evenly for a beautiful finish. Bake in the oven for about 50-60 minutes. The edges should be firm, but the center will have a slight jiggle—that’s perfect! To prevent cracking, turn off the oven and leave the cheesecake inside for an hour to cool gradually. After that, let it cool at room temperature for about 30 minutes.
Finishing Touches
Creating the Ganache
Now for the best part: the ganache! In a small saucepan, heat the heavy cream until it’s just simmering. Remove it from the heat and add the dark chocolate. Stir until it’s smooth and glossy—like liquid velvet! Allow the ganache to cool slightly before pouring it over your chilled cheesecake. It will create a stunning, shiny top that’s simply irresistible. Top it with orange segments and chocolate shavings for that elegant finish.
Tips for Success
- Use room temperature cream cheese for a smoother batter.
- Don’t skip the gradual cooling in the oven; it helps prevent cracks.
- Chill the cheesecake overnight for better flavor and texture.
- For a lighter option, substitute half the cream cheese with Greek yogurt.
- Experiment with different chocolate brands for unique flavor profiles.
Equipment Needed
- 9-inch springform pan – You can use a regular cake pan, but a springform pan makes removal easier.
- Mixing bowls – A set of varying sizes is helpful for different preparation stages.
- Hand mixer or whisk – A hand mixer speeds things up, but a whisk works just fine too.
- Food processor or rolling pin – To crush your biscuits, either works depending on what you have.
- Spatula – A flexible spatula helps fold ingredients evenly and scrape the bowl.
Variations
- Citrus Twist: Add a tablespoon of grapefruit or lemon zest for a zesty pop!
- Nutty Delight: Incorporate crushed nuts like almonds or hazelnuts into the crust for an extra crunch.
- Gluten-Free Option: Use gluten-free cookies instead of chocolate digestive biscuits to suit dietary needs.
- Low Fat Version: Swap half the cream cheese with Greek yogurt and reduce the sugar for a lighter cheesecake.
- Vegan Version: Use a dairy-free cream cheese alternative and replace eggs with flaxseed meal or a commercial egg replacer.
Serving Suggestions for Chocolate Orange Cheesecake
- Pair with a dollop of freshly whipped cream for a lovely, airy contrast.
- Serve alongside a scoop of vanilla ice cream to enhance the chocolate flavors.
- Accompany with a fresh fruit salad to balance the richness.
- Enjoy with a cup of espresso or a fruity herbal tea for a delightful afternoon treat.
- Garnish with extra orange segments and mint leaves for a stunning presentation.
FAQs about Chocolate Orange Cheesecake
Can I make Chocolate Orange Cheesecake ahead of time?
Absolutely! This cheesecake actually improves in flavor when made a day or two in advance. Just cover it tightly and refrigerate until you’re ready to serve.
What can I substitute for cream cheese?
If you’re looking for alternatives, consider using mascarpone or a dairy-free cream cheese. Greek yogurt can also work for a lighter version, but it may alter the texture slightly.
How do I avoid cracks in my cheesecake?
To prevent cracks, let your cheesecake cool gradually in the oven after baking. Turning off the heat and leaving the door ajar for an hour is key! Also, avoid overmixing the batter.
What should I serve with my Chocolate Orange Cheesecake?
This cheesecake is divine on its own, but you can elevate the experience by pairing it with whipped cream, fresh fruit, or even ice cream. A splash of espresso also complements its flavors beautifully.
Is it okay to freeze Chocolate Orange Cheesecake?
Yes! You can freeze slices for up to three months. Just make sure to wrap them well to prevent freezer burn. Thaw in the refrigerator before enjoying.
Final Thoughts
Making this Chocolate Orange Cheesecake is more than just a baking project; it’s a heartfelt journey into the wonderful world of flavors. Each step brings you closer to a dessert that not only looks stunning but tastes even better. Whether you’re celebrating a special occasion or simply indulging on a weeknight, this cheesecake adds a touch of joy to your table. Seeing your loved ones savor every bite will warm your heart. I promise, the blend of rich chocolate and vibrant orange will create memories that linger long after the last slice is gone. Happy baking, friends!